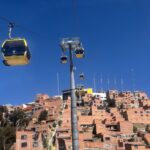
When people think of Peru, Machu Picchu and Huacachina usually come to mind. However, there’s one destination that should not be overlooked: Huaraz.
Located about eight hours north of Lima by bus, Huaraz is a mountain town sitting at an altitude of approximately 3,050 meters (10,007 ft). Surrounded by towering 6,000-meter peaks, it offers everything from day hikes to week-long expeditions, earning it the nickname “the trekking capital of Peru.”
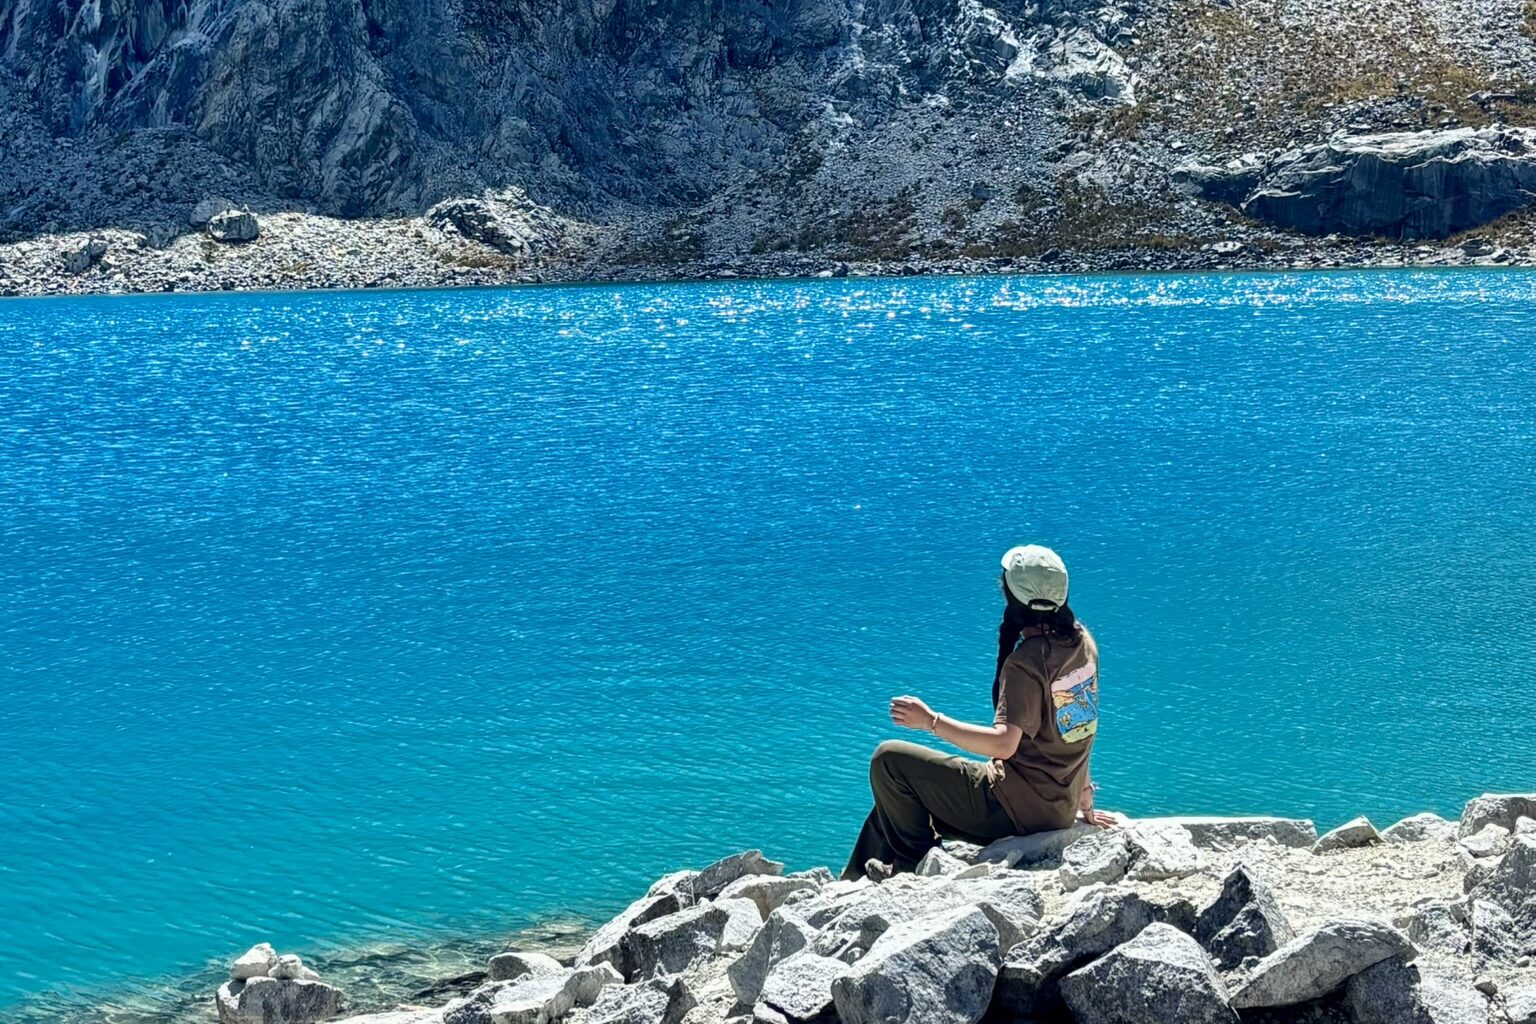
The main reason we came to Huaraz was to hike the Santa Cruz Trek.
The Santa Cruz Trek is one of South America’s most iconic trekking routes, crossing the spectacular Cordillera Blanca mountain range near Huaraz. Along the way, you’ll pass turquoise glacial lakes, snow-capped 6,000-meter peaks, and vast alpine valleys. It’s widely regarded as one of the most beautiful treks in the world.
Unlike the Salkantay Trek to Machu Picchu or the Colca Canyon Trek, there are almost no villages or accommodation along the route. As a result, you’ll need to carry camping gear and camp throughout the trek, which is one of its defining features.
In this guide, I’ll share our experience of completing the Santa Cruz Trek self-guided in three days, covering everything from preparation and the route to costs, camping, and important tips.
Table of Contents
1. Basic Information
- Location: Cordillera Blanca (near Huaraz)
- Duration: 3–4 days (4 days is the standard itinerary)
- Distance: Approximately 50 km (31 miles)
- Highest Point: Punta Unión Pass (4,750 m / 15,584 ft)
- Difficulty: Moderate ★★★☆☆
- Best Season: May to September (dry season)
- National Park Entrance Fee:
- 60 soles (valid for up to 3 days)
- 150 soles (valid for 4 days or more)
The trail is well maintained and easy to follow, so navigation is rarely an issue. However, since there are no accommodations along the route, you’ll need to carry your own camping equipment. For this reason, many people choose to join an organized tour.
With a tour, donkeys carry your gear, meals are prepared for you, and the guides even set up your tent.
On the other hand, if you’re physically fit and have the proper equipment, completing the trek independently is absolutely possible.
2. Acclimatization
The biggest challenge of the Santa Cruz Trek is altitude sickness.
The highest point of the trek reaches 4,750 meters, and if your body isn’t properly acclimatized, even a gentle climb can feel many times more difficult than usual.
For that reason, I highly recommend spending several days in Huaraz before starting the trek and doing a few high-altitude day hikes to help your body adjust.
This was our acclimatization schedule:
- Days 1–2: Stay in Huaraz (3,050 m)
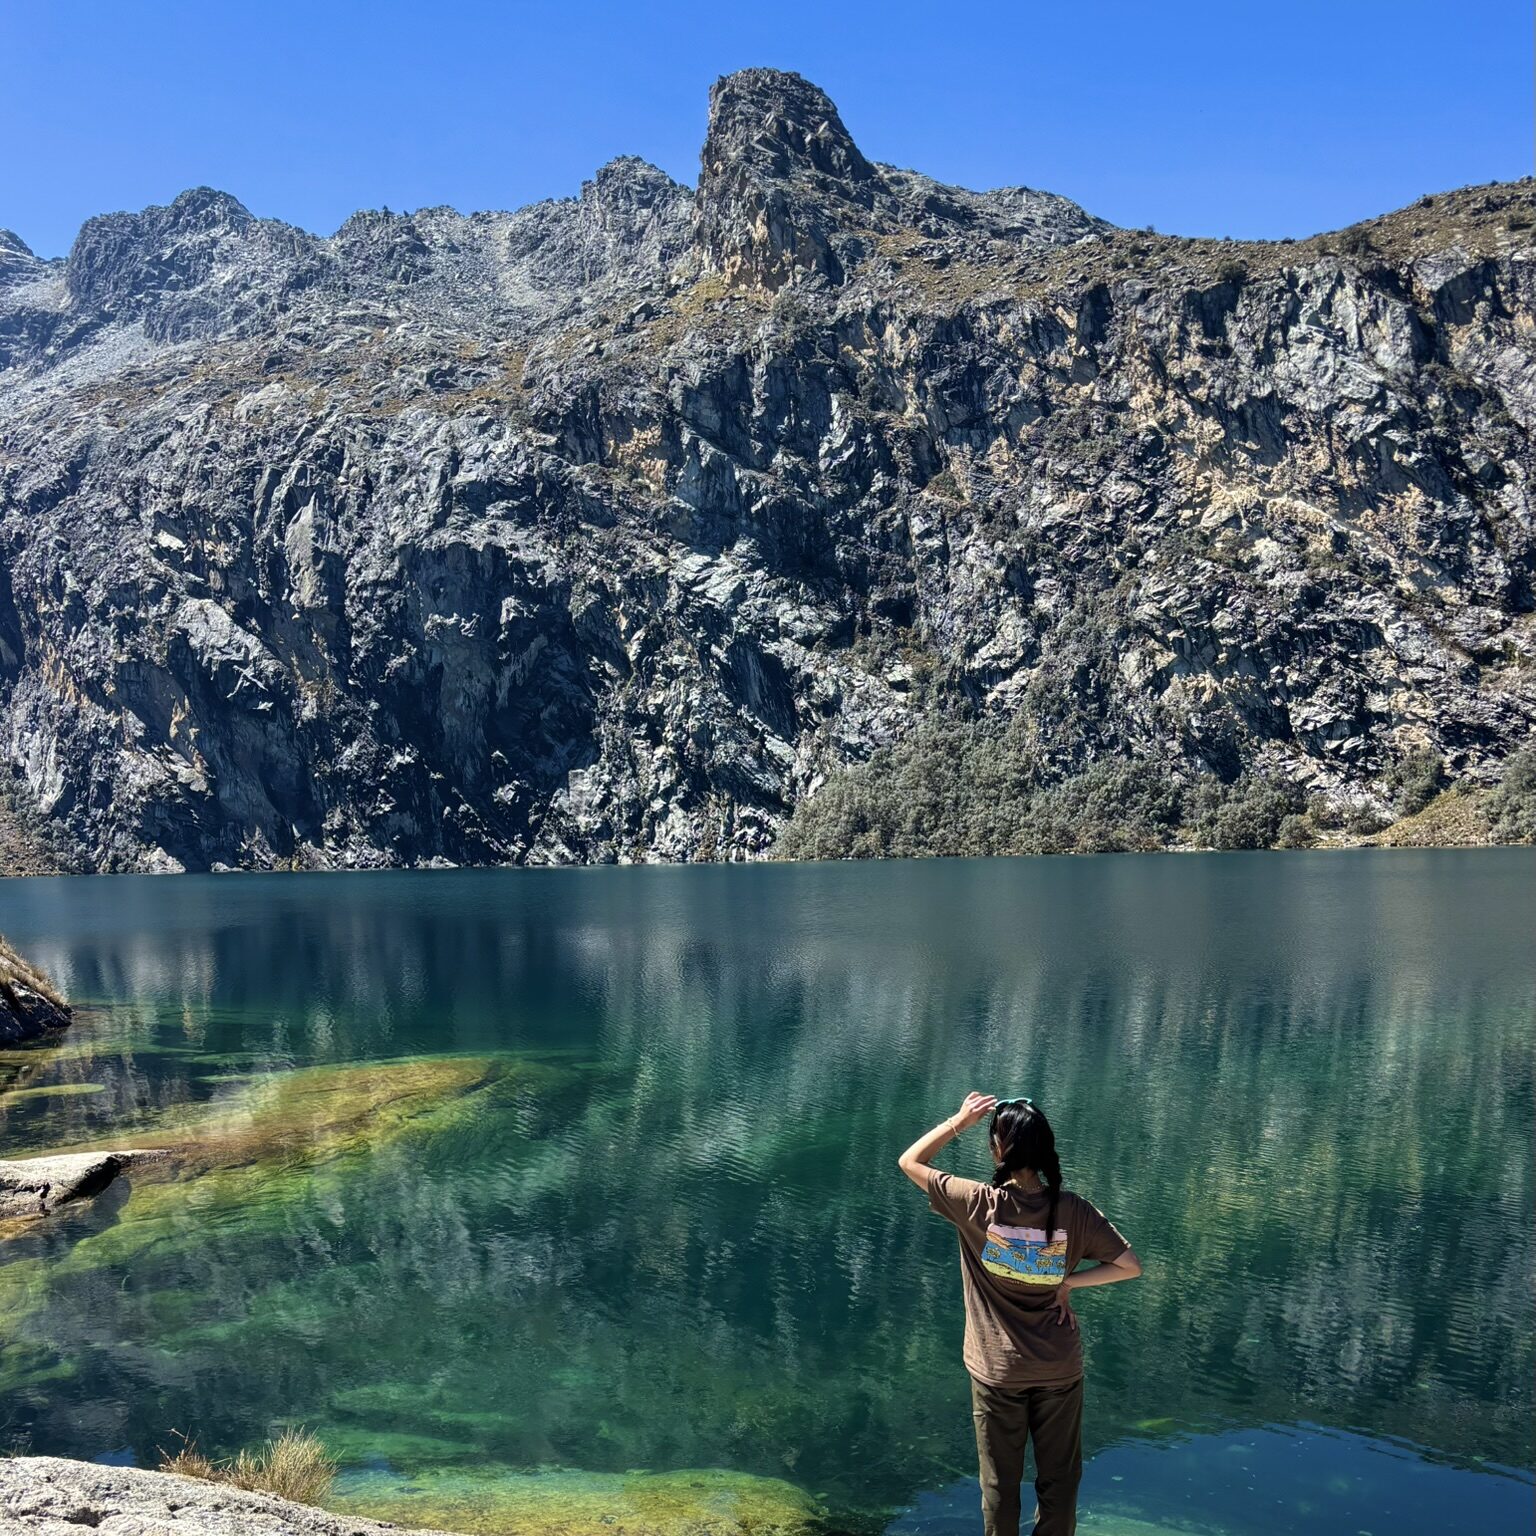
- Day 3: Laguna Churup
- Distance: approximately 6 km
- Highest elevation: 4,500 m
- Elevation gain: approximately 800 m
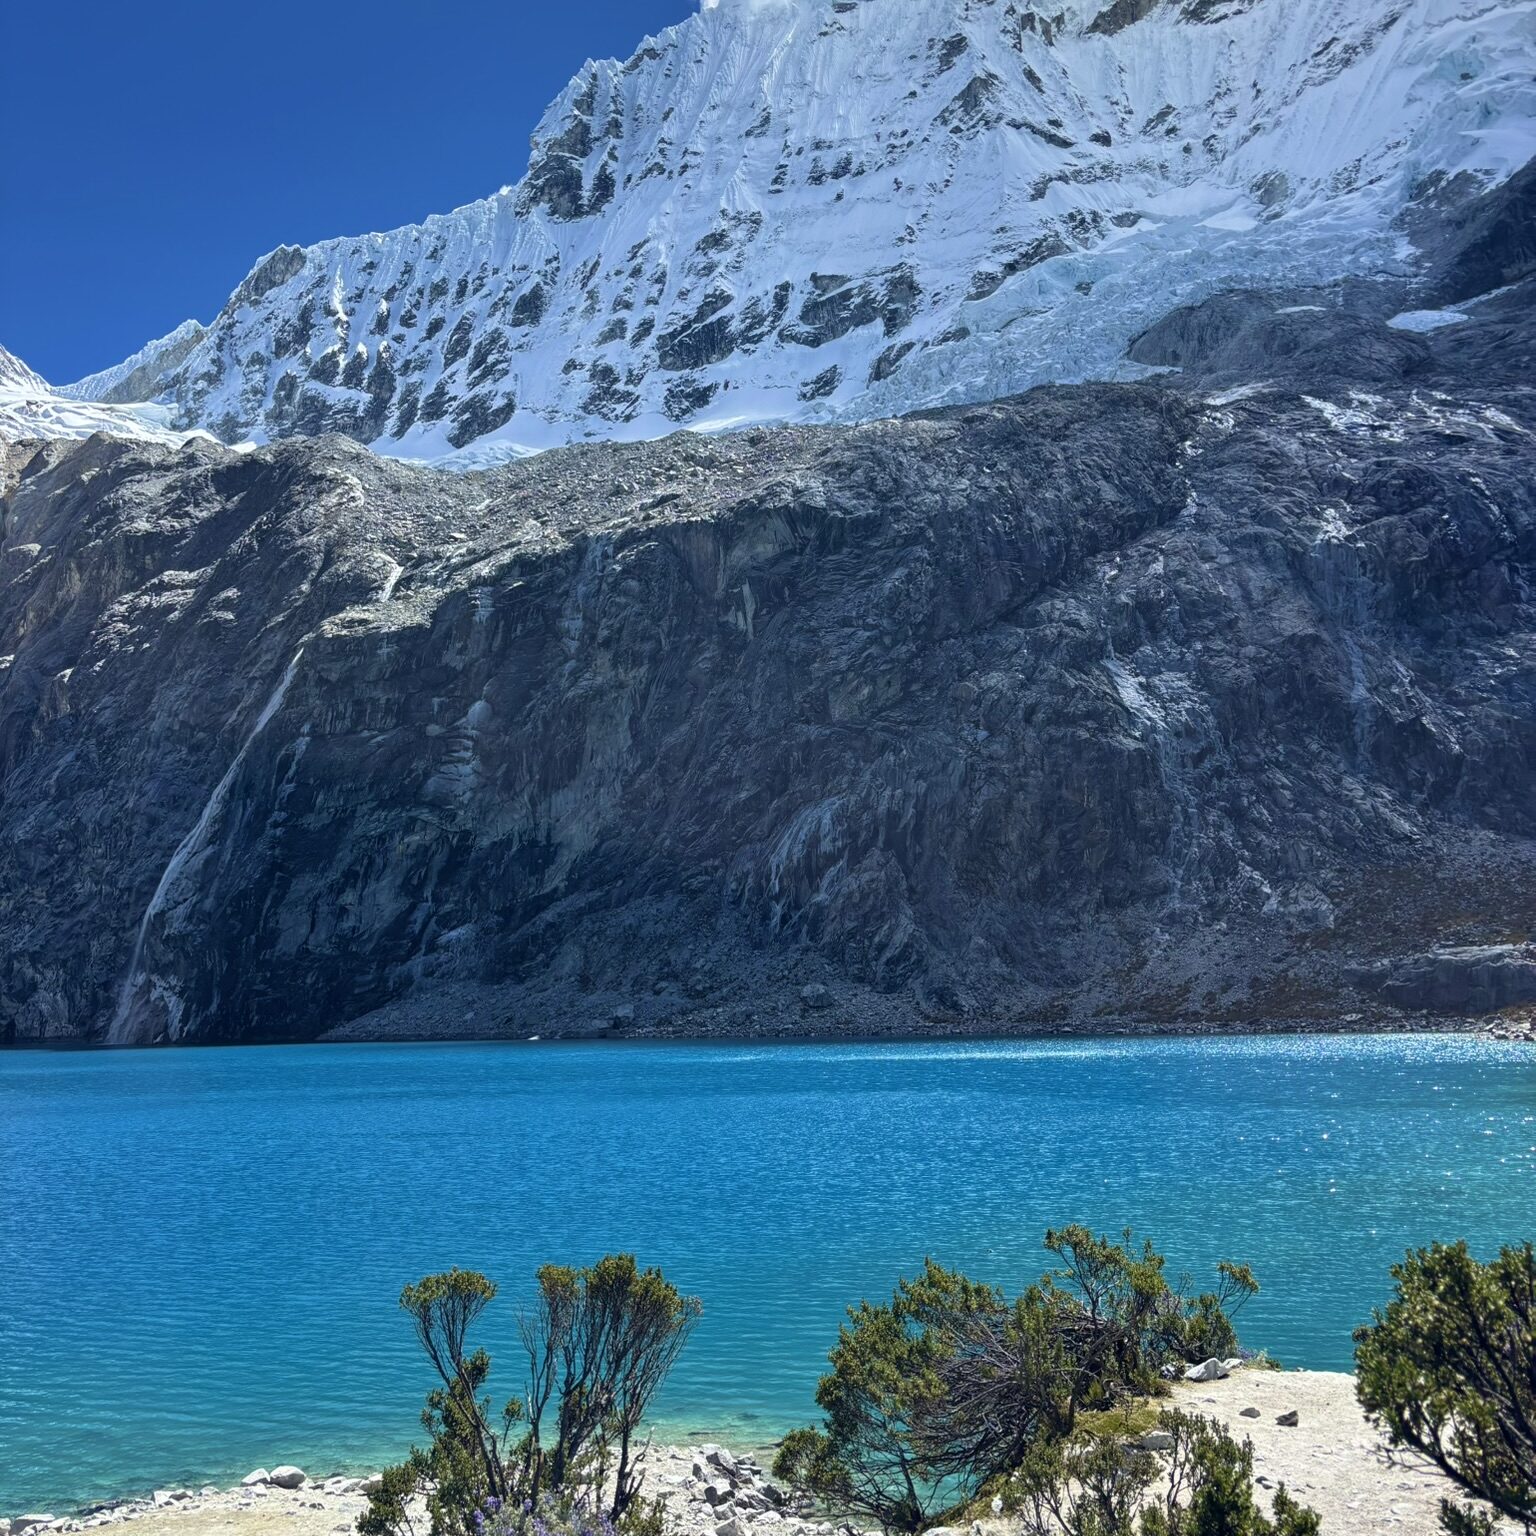
- Day 4: Laguna 69
- Distance: approximately 14 km
- Highest elevation: 4,600 m
- Elevation gain: approximately 850 m
- Day 5: Preparation day
- Day 6: Start the Santa Cruz Trek
Both Laguna Churup and Laguna 69 reach elevations above 4,500 meters, making them ideal hikes for acclimatization. They also offer breathtaking scenery, so I highly recommend visiting them whether you’re acclimatizing or simply looking for incredible day hikes.
3. Packing List
We rented the gear that we didn’t already have.
Most of our equipment was rented from Andes Hostel, where we were staying. Their rental prices were very reasonable, and they also stored our extra luggage free of charge while we were on the trek.
The only exception was the cooking equipment. We wanted lightweight backpacking cookware, but the hostel only had standard kitchen pots, so we rented our cooking gear from Mont Blanc Trekking and Climbing Huaraz instead.
Rented
- Tent
- Sleeping bag (Comfort: -5°C / Limit: -10°C)
- Sleeping mat
- Cooking set (stove, pot, and fork)
Purchased
- Gas canister
Packed
- Warm clothing (thermal base layers, fleece, down jacket, gloves, beanie, and neck warmer)
- Rain jacket
- Trekking poles
- 3 liters of water
- Water filter bottle
- Water purification tablets (Pharmacies usually only sell tablets that treat 20 liters at a time, so it’s better to buy tablets designed for hikers at an outdoor gear store.)
- Food for three days
- Tortillas
- Ham
- Cheese
- Oatmeal
- Instant noodles
- Nuts
- Snacks
There are streams flowing alongside the trail for most of the trek, so running out of water is never really an issue. However, I strongly recommend filtering or purifying the water before drinking it by using either a water filter or purification tablets.
4. Route
The Santa Cruz Trek is a point-to-point trek, so there are two possible directions:
- Vaquería → Cashapampa
- Cashapampa → Vaquería
The Vaquería to Cashapampa route is by far the more popular option.
This is because Cashapampa is the larger village, making it much easier to find transportation back to Huaraz at the end of the trek.
This is also the direction that we chose.
The standard four-day itinerary is as follows:
Day 1: Vaquería → Paria Camp
- Distance: approximately 10–11 km
Day 2: Paria → Punta Unión → Taullipampa
- Distance: approximately 11 km
Day 3: Taullipampa → Arhuaycocha Lake → Llamacorral
- Distance: approximately 18–20 km
Day 4: Llamacorral → Cashapampa
- Distance: approximately 10 km
Since we wanted to finish the trek in three days, we skipped the detour to Arhuaycocha Lake and increased our daily hiking distance slightly.
Our itinerary looked like this:
Day 1: Vaquería → Hammock Camping
- Distance: 14 km
Day 2: Hammock Camping → Punta Unión → Laguna Jatuncocha
- Distance: 17 km
Day 3: Laguna Jatuncocha → Cashapampa
- Distance: 15 km
5. The Trek
Day 0: Huaraz → Yungay → Vaquería
5:40 AM We took a combi (shared minibus) from Huaraz to Yungay. The fare was 8 soles per person.
📍You can find the bus stop here.
6:30 AM We arrived in Yungay and transferred to a colectivo (shared taxi/minibus) bound for Vaquería. The fare was 30 soles per person. The driver initially asked for 40 soles, but the standard fare is 30 soles, so don’t be afraid to negotiate.
⚠️Important: The last colectivo usually leaves around 12:00 PM. After that, your only option is to hire a private taxi, which is much more expensive.
9:00 AM The vehicle stopped at the entrance gate of Huascarán National Park, where we purchased our entrance tickets.
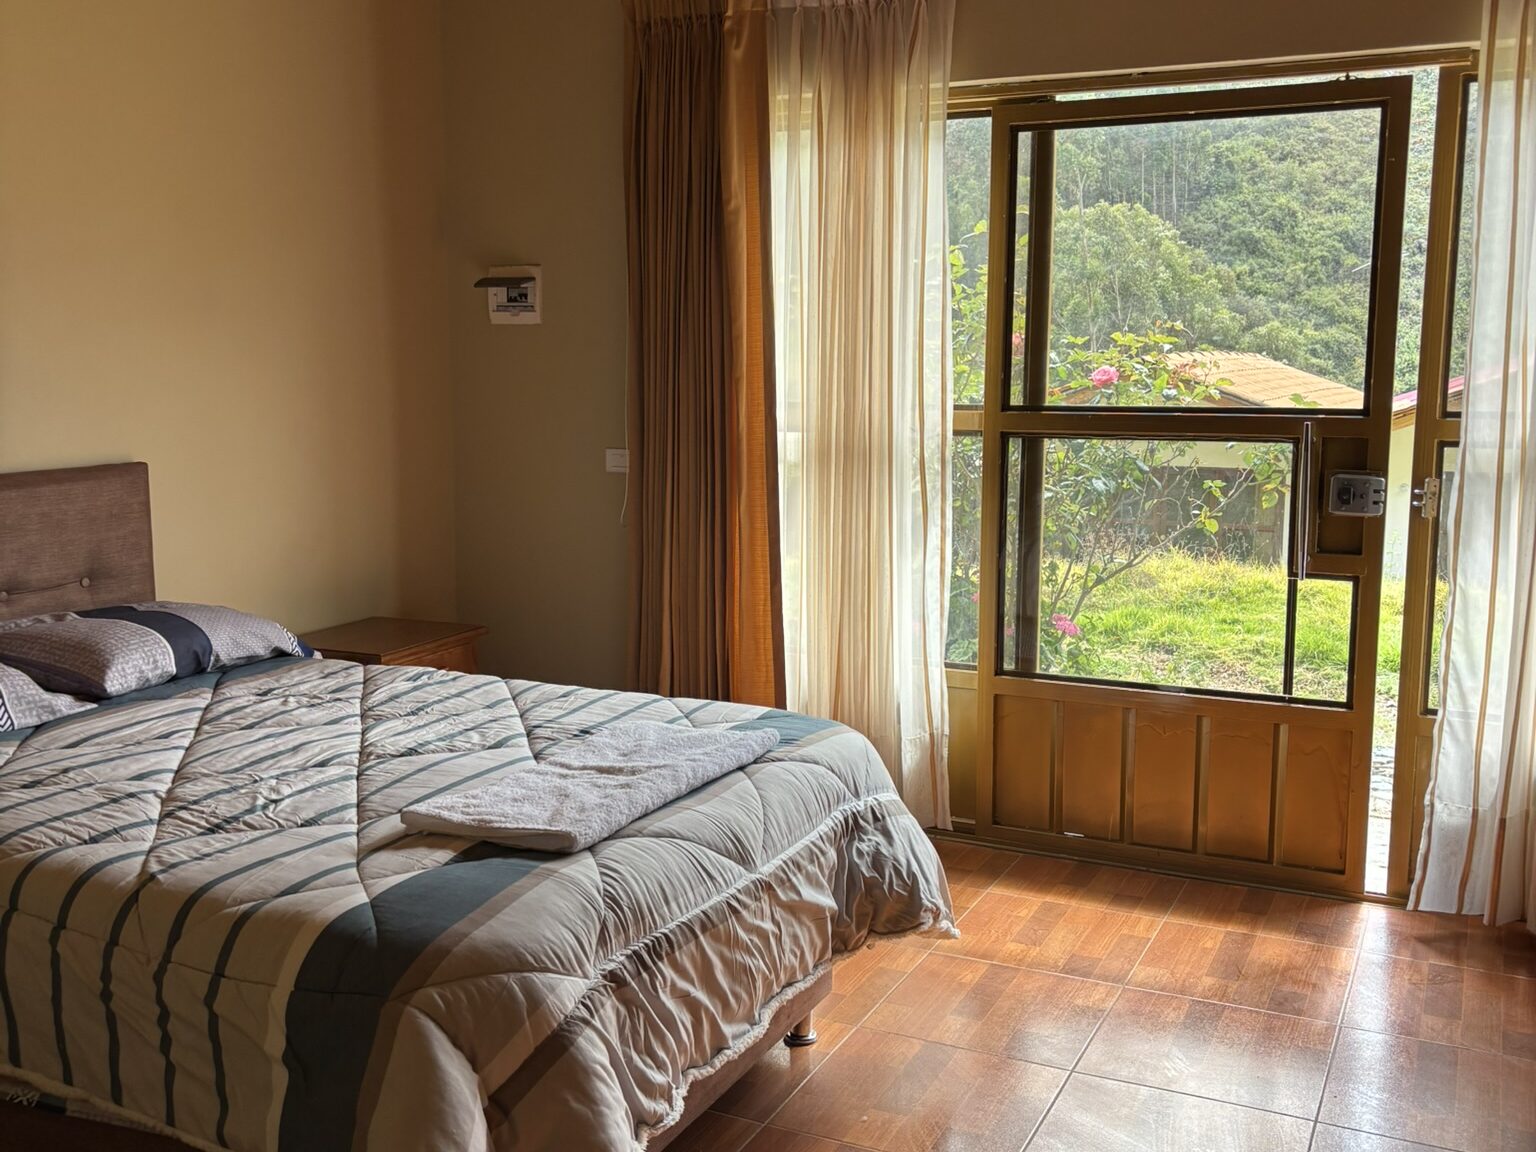
10:00 AM We arrived in Vaquería. From there, we walked another 4 km to Calonge Lodge in Colcabamba. Although many hikers begin the trek on the same day they arrive in Vaquería, we decided to take it easy and spend the night here instead. It turned out to be one of the best decisions of the trip. For just 35 soles per person, we had a private cabin with Wi-Fi, a kitchen, and breakfast included. We enjoyed our stay so much that we honestly wished we could have stayed another night. If your schedule allows, I highly recommend spending a night here before starting the trek.
Day 1: Vaquería → Hammock Camping
Distance: 14 km
Highest Elevation: 4,000 m
Difficulty: ★☆☆☆☆
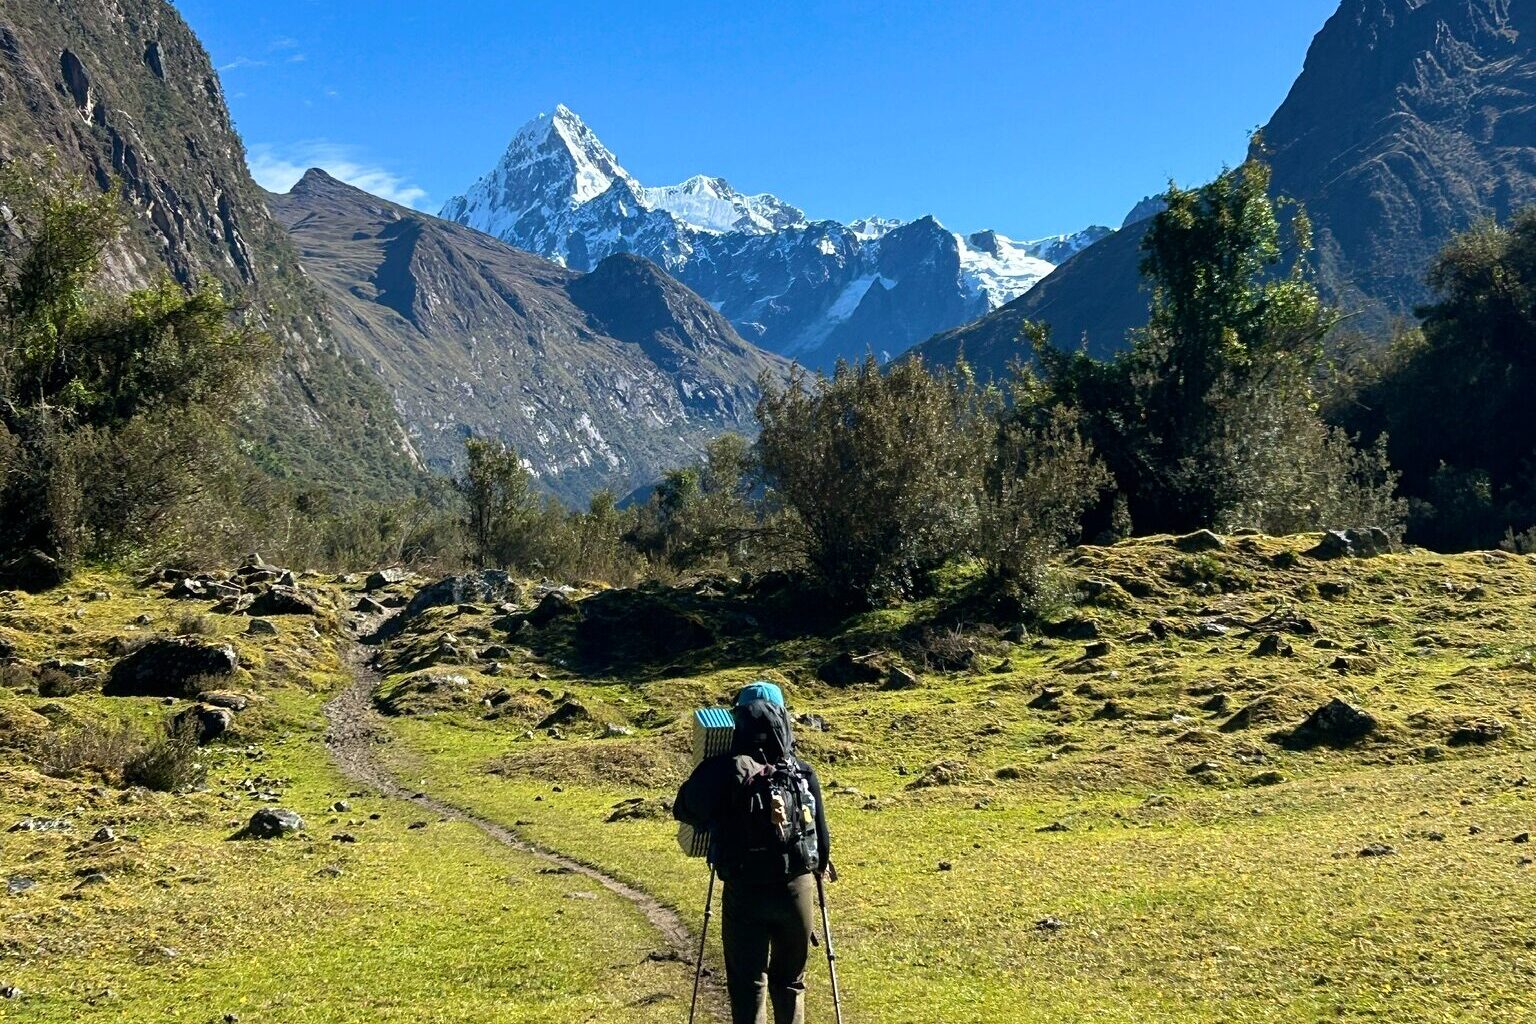
The first day was relatively easy, with no major climbs.
The trail passed through peaceful villages where cows and donkeys grazed, then opened into wide grasslands with spectacular views of snow-capped mountains. For much of the day, we followed a beautiful river through the valley.
The scenery changed constantly, making the hike enjoyable from start to finish.
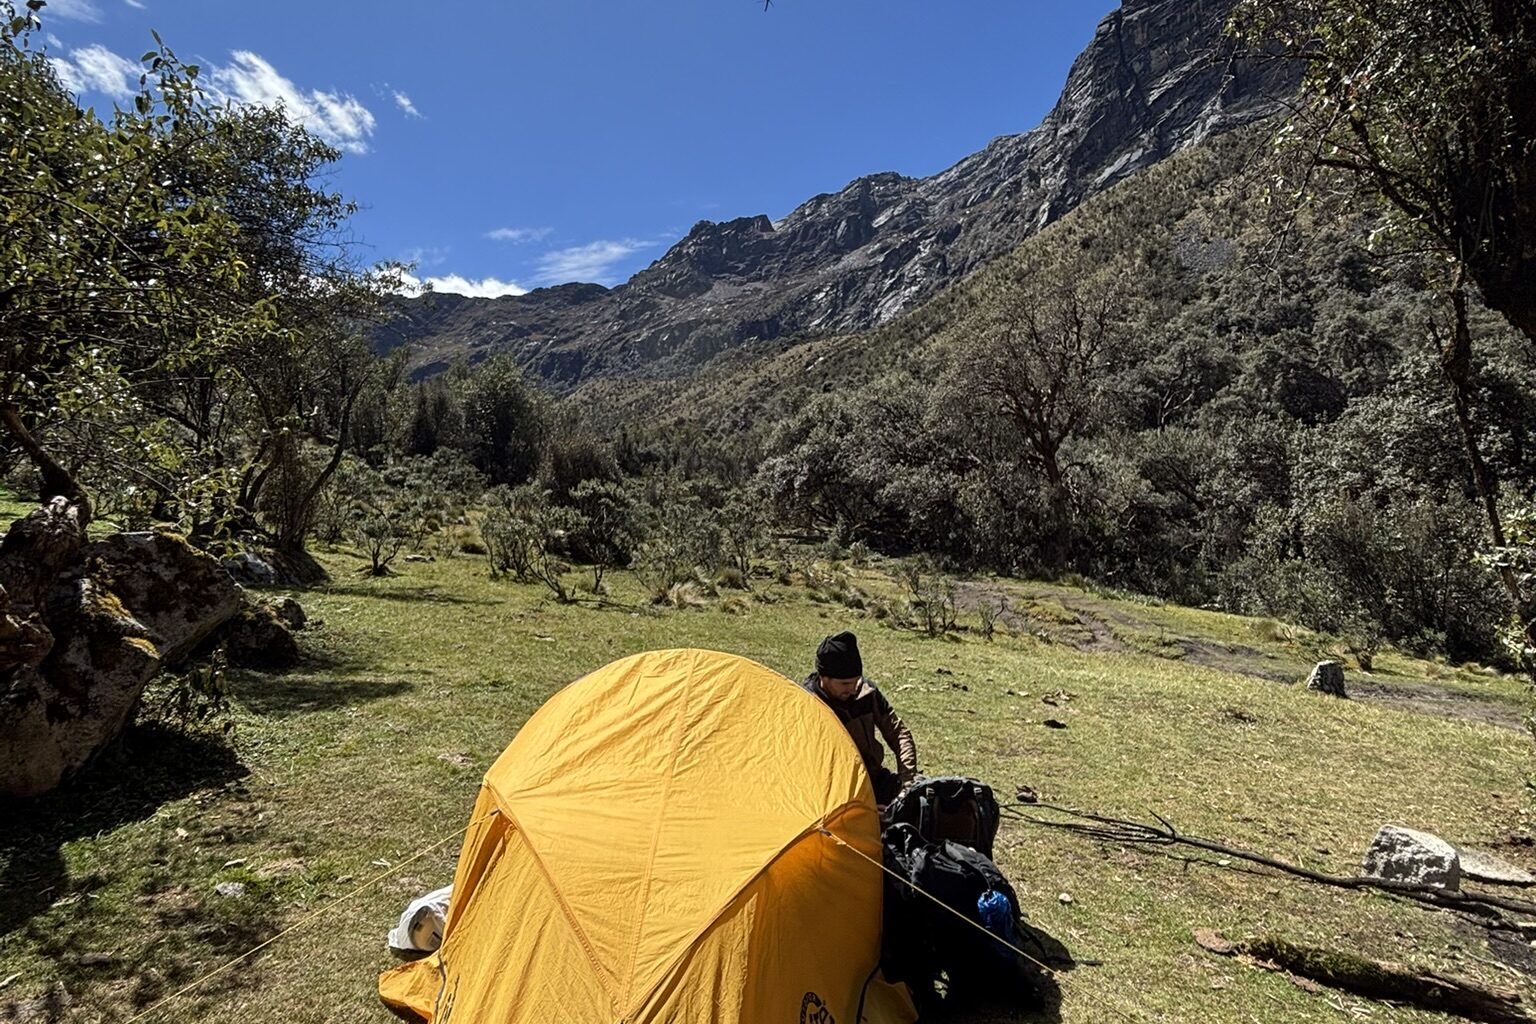
Our original plan was to camp at Paria, but since we still had plenty of energy, we continued for another 2 km before setting up our tent for the night.
Day 2: Hammock Camping → Punta Unión → Laguna Jatuncocha
Distance: 17 km
Highest Elevation: 4,750 m
Difficulty: ★★★★☆
We woke up at sunrise.
Since I get cold very easily, I had been worried about camping at 4,000 meters. However, with a sleeping bag rated to -5°C (comfort), along with my down jacket, fleece, and thermal base layers, I slept comfortably through the night.
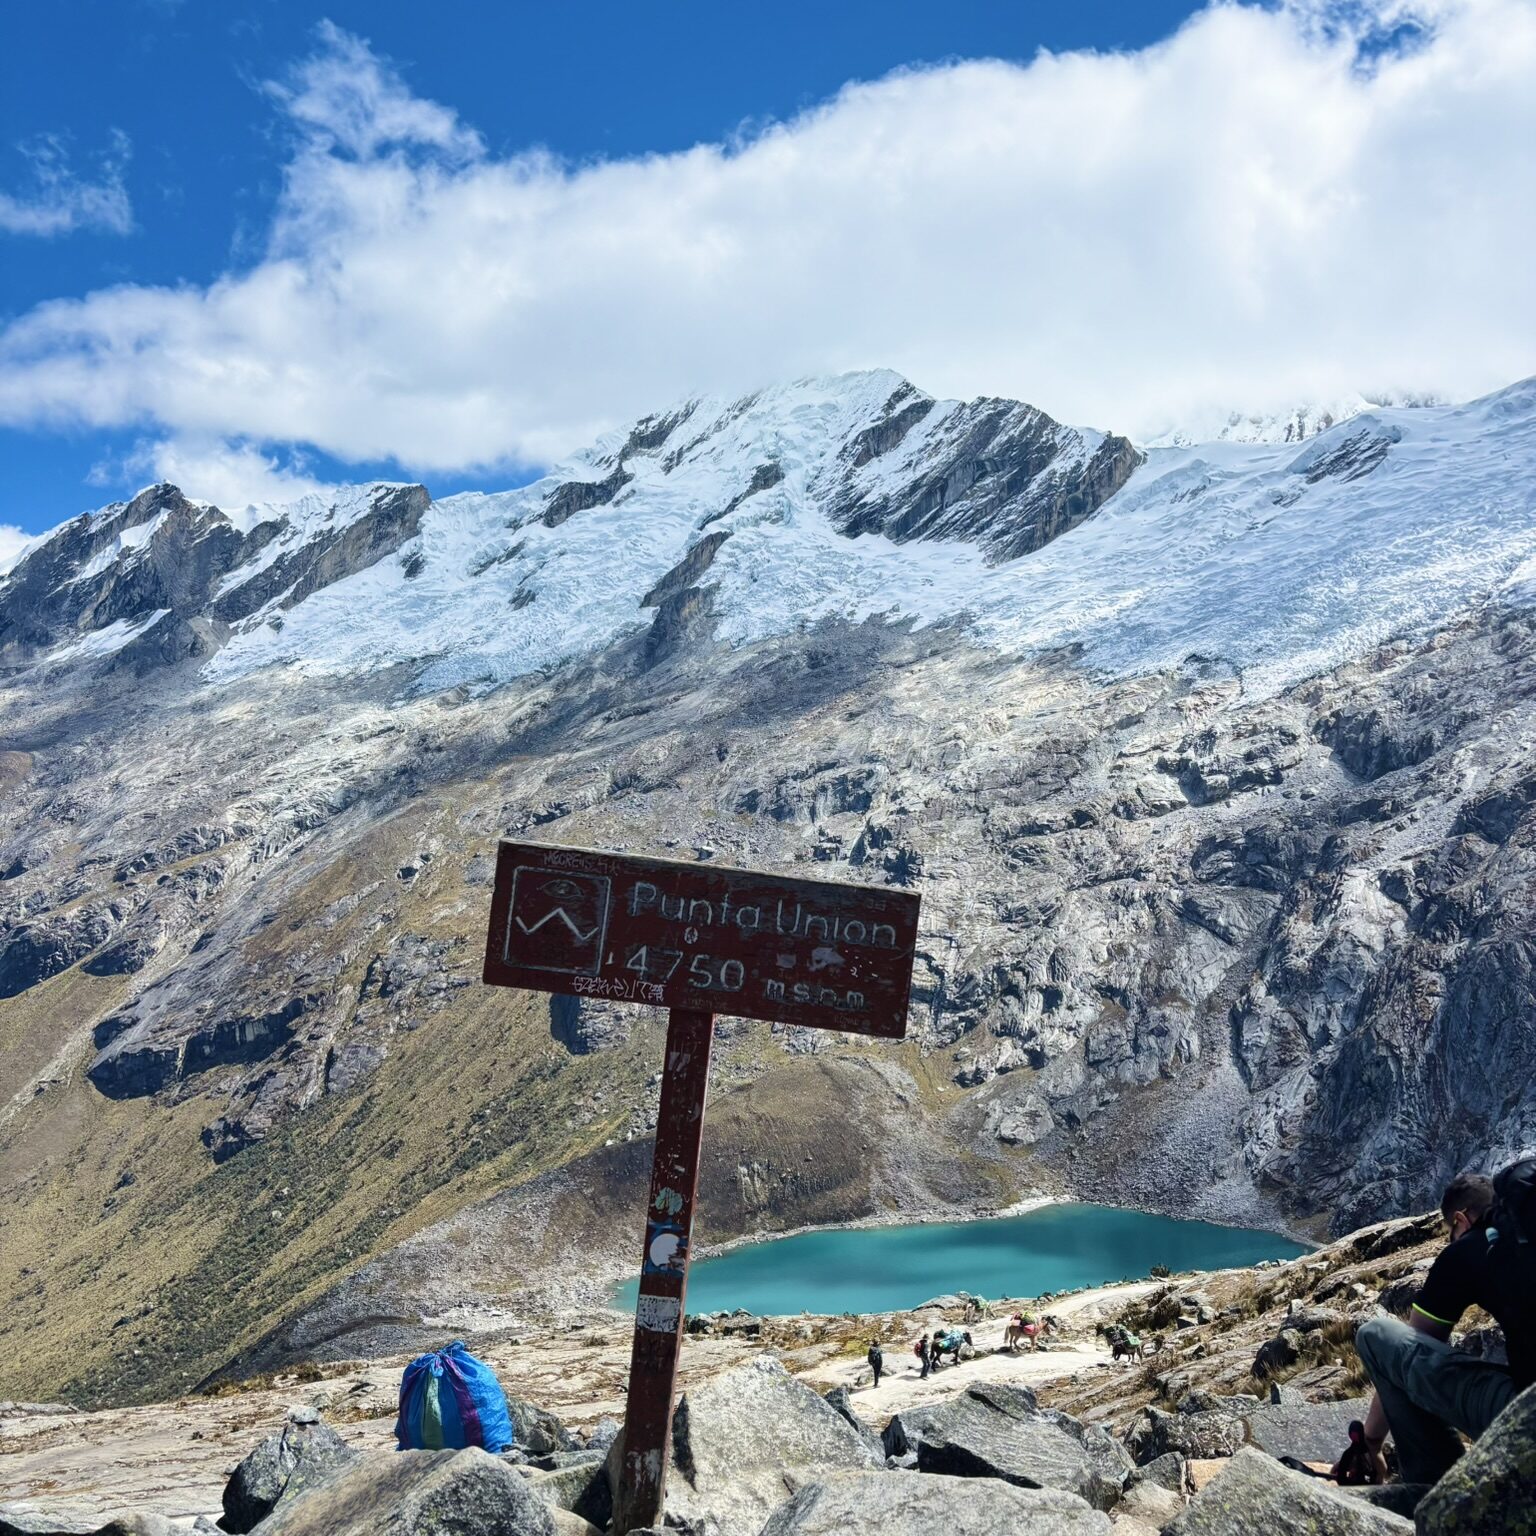
Today was the most challenging day of the trek, as we had to cross Punta Unión Pass (4,750 m). The 5.6 km climb to the pass is almost entirely uphill. Carrying a heavy backpack at high altitude made every step feel difficult. I was constantly out of breath and had to stop frequently to catch my breath before continuing.
At around 10:00 AM, we finally reached the summit. The view was absolutely breathtaking. Below us lay emerald-blue glacial lakes, backed by towering snow-covered peaks and glaciers. It was the kind of scenery that instantly made all the effort worthwhile.
After enjoying the view, we began the descent. We still had around 11 km to walk before reaching our campsite. The first section was downhill, followed by a long stretch of relatively flat trail. We passed the large campsite at Taullipampa and continued toward Laguna Jatuncocha.
As we descended into the valley, we found ourselves surrounded by fields of beautiful purple flowers that looked remarkably similar to lavender.
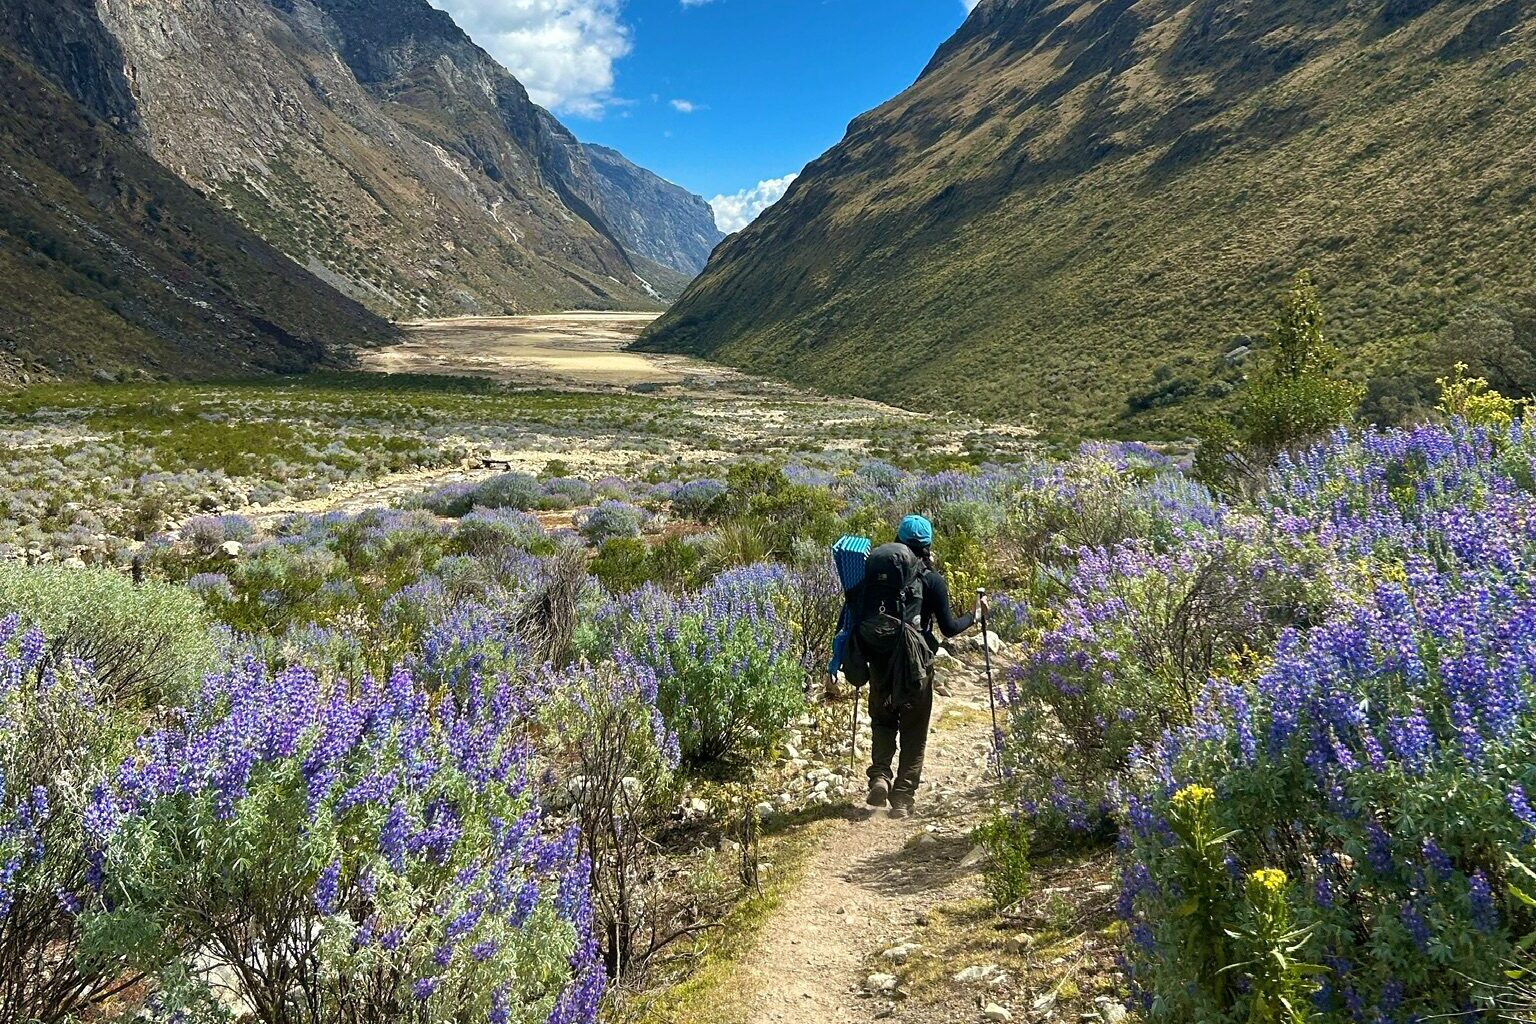
After crossing a river, we walked across a wide, sandy plain that almost resembled a beach before finally arriving at the lake. We continued another 1.4 km and pitched our tent at the far end of Laguna Jatuncocha.
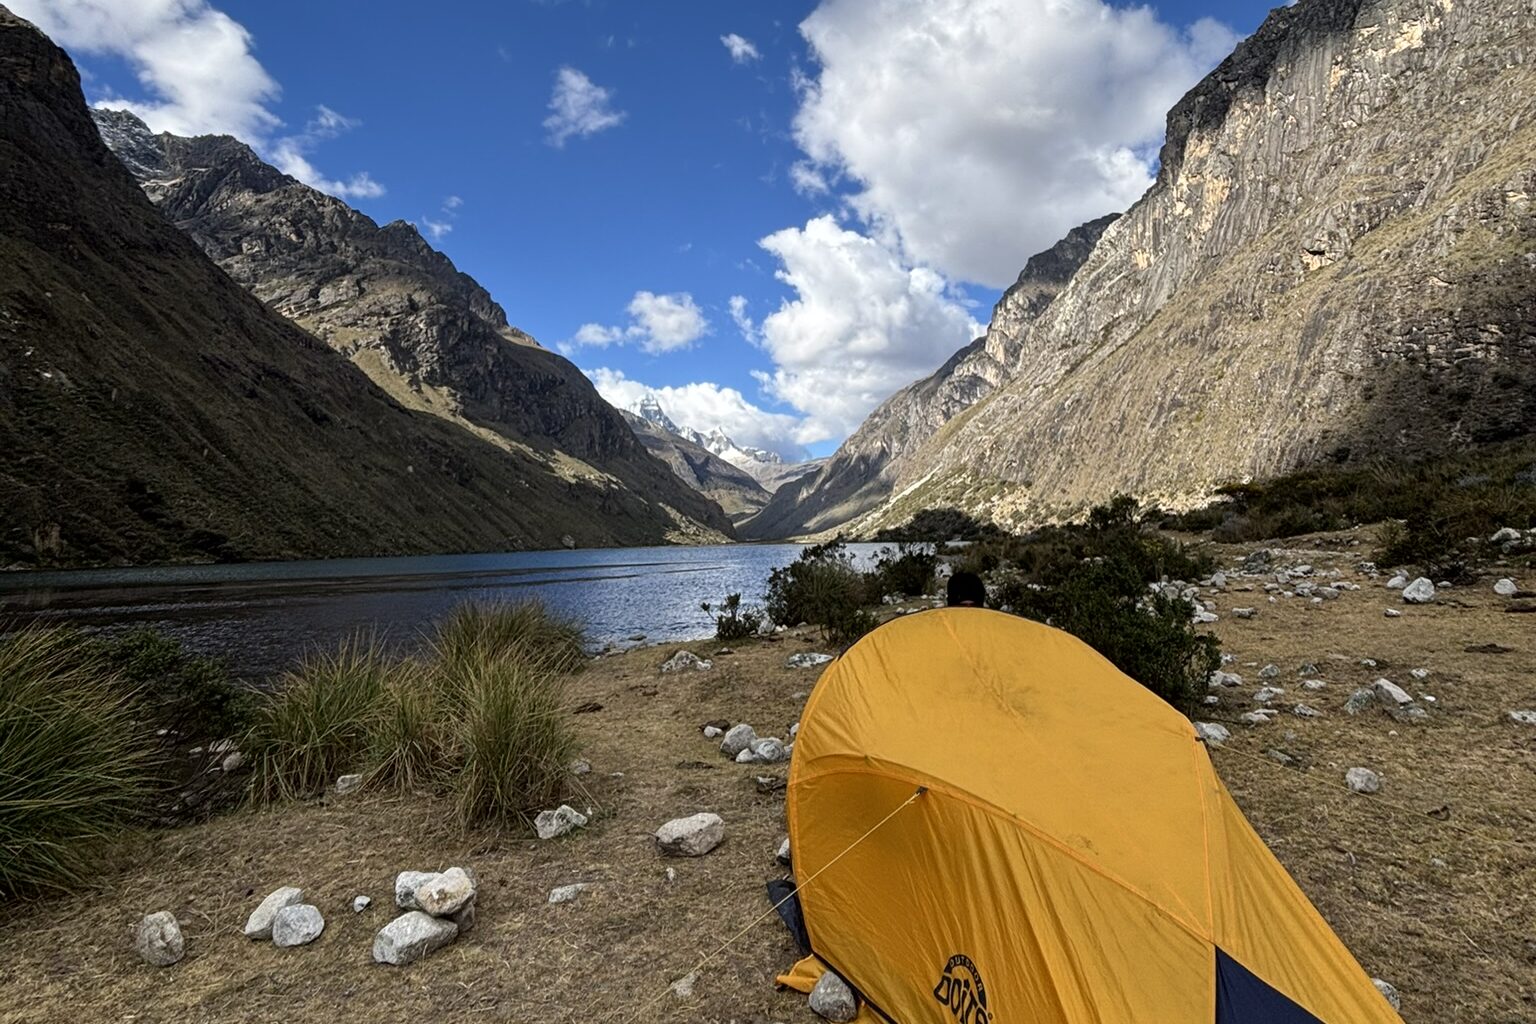
Day 3: Laguna Jatuncocha → Cashapampa
Distance: 15 km
Highest Elevation: 3,900 m
Difficulty: ★★☆☆☆
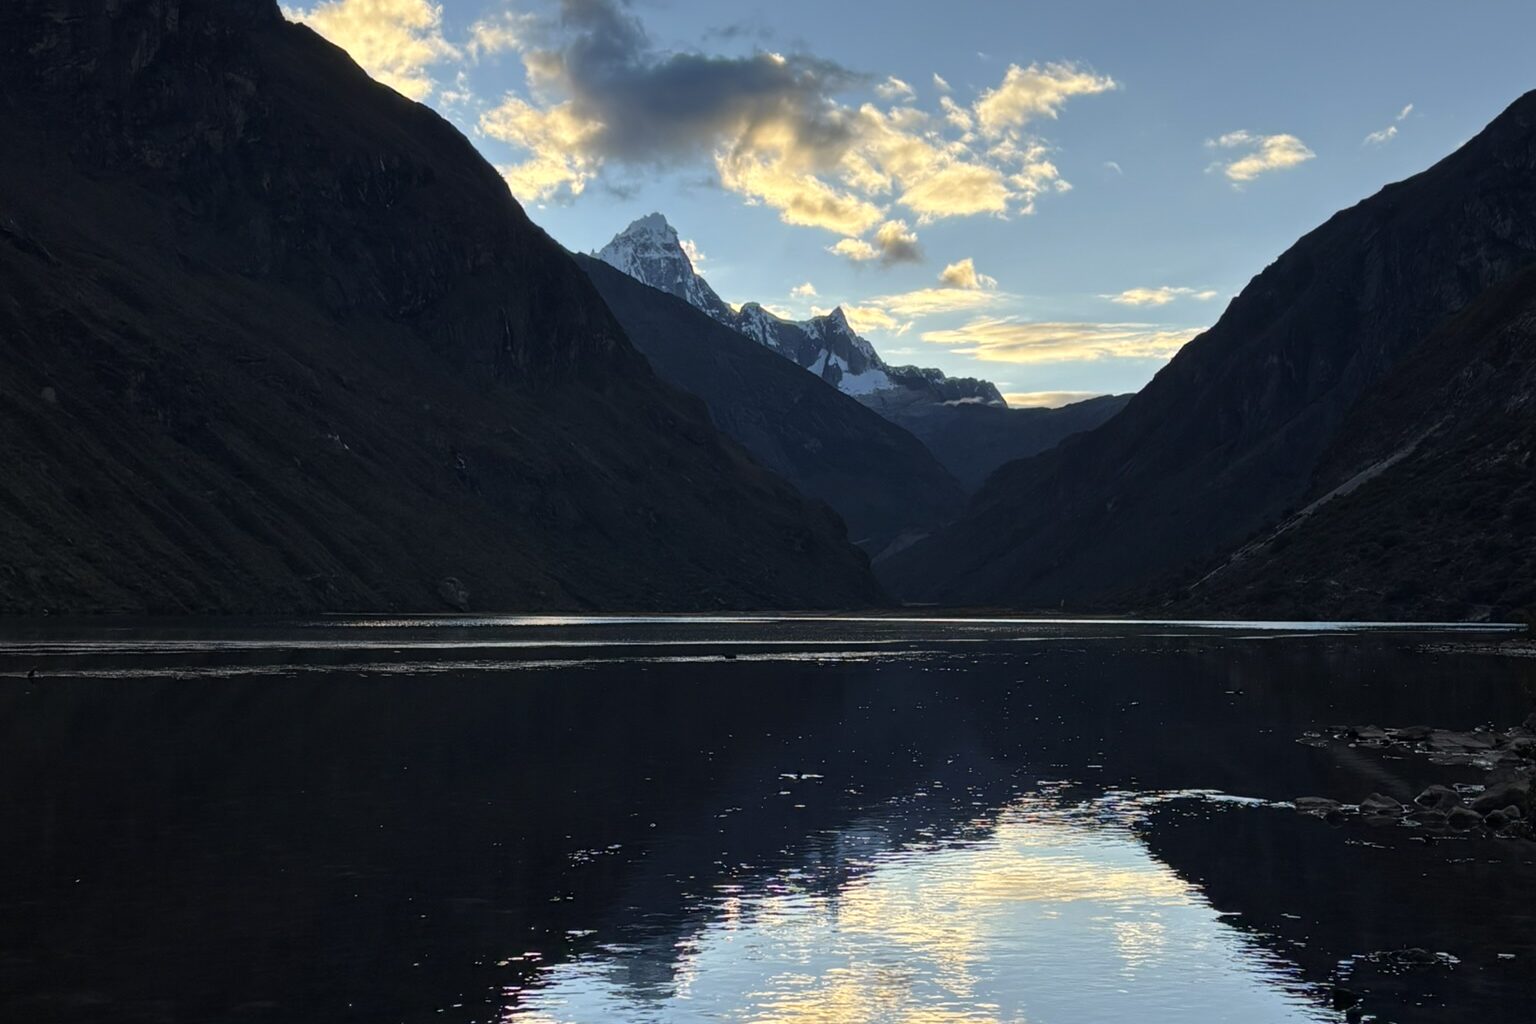
It was the final day of the trek. When we opened the tent in the morning, we were greeted by a peaceful lake with snow-capped mountains rising behind it. It was an unforgettable way to start the day.
Today’s route was a long descent to Cashapampa, losing roughly 1,000 meters of elevation while following the river downstream. As we descended, the landscape gradually became greener, and we began to see a greater variety of trees and plants.
At 12:30 PM, we arrived in Cashapampa.
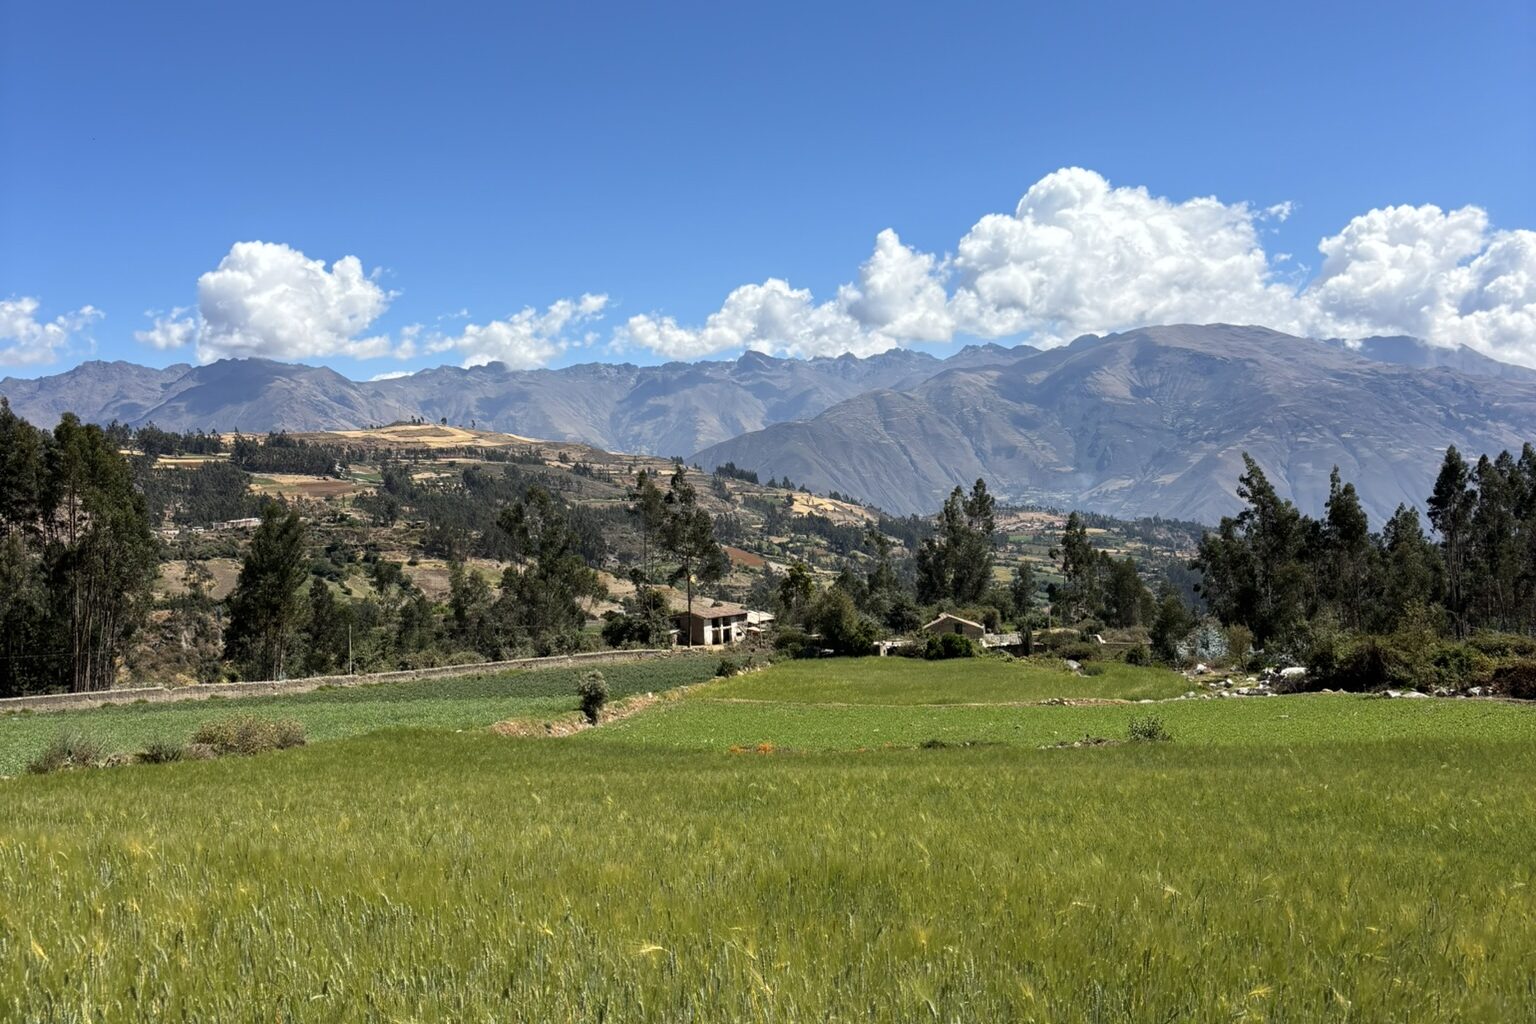
Our entrance tickets were checked at the exit of the national park.
There were already several colectivos waiting in the village.
- Cashapampa → Caraz
- About 1 hour
- 20 soles per person (the driver initially asked for 30 soles, but we negotiated)
- Caraz → Huaraz
- About 2 hours
- 10 soles per person
6. Cost Breakdown
Below are the main expenses we incurred while completing the Santa Cruz Trek independently. Food and our accommodation before the trek are not included.
| Item | Cost |
|---|---|
| Huascarán National Park entrance fee (up to 3 days) | 60 soles per person |
| Huaraz → Yungay (combi) | 8 soles per person |
| Yungay → Vaquería (colectivo) | 30 soles per person |
| Cashapampa → Caraz (colectivo) | 20 soles per person |
| Caraz → Huaraz (combi) | 10 soles per person |
| Tent rental (2-person tent) | 25 soles/day × 4 days = 100 soles (shared between two people) |
| Sleeping bag rental | 25 soles/day × 4 days = 100 soles per person |
| Sleeping mat rental | 10 soles per person (4 days) |
| Cooking set rental | 10 soles/day × 4 days = 40 soles (shared between two people) |
| Gas canister | 30 soles (shared between two people) |
Total Cost
Approximately 323 soles (about USD 95) per person, excluding food and accommodation before the trek.
One of the biggest advantages of hiking the Santa Cruz Trek independently is the cost. Compared with joining an organized tour, a self-guided trek is significantly cheaper while giving you complete freedom to hike at your own pace.
7. Conclusion
At first, carrying all your own gear and camping while crossing a 4,700-meter mountain pass may sound intimidating.
However, after completing the trek ourselves, we found that the Santa Cruz Trek is surprisingly manageable. The trail is well marked, navigation is straightforward, and because you spend most of the trek following rivers, finding water is never a problem. As long as you acclimatize properly and bring the right equipment, completing the trek independently is absolutely achievable.
What impressed us the most, however, was the constantly changing scenery.
Snow-capped peaks, turquoise glacial lakes, vast valleys, colorful wildflowers, and peaceful campsites—every day felt completely different from the last. There was never a dull moment.
Machu Picchu may be Peru’s most famous attraction, but don’t stop there.
If you’re looking to experience some of the country’s most spectacular mountain scenery, I can’t recommend the Santa Cruz Trek enough.