When people think of visiting Machu Picchu, the most common way is to travel there from Cusco by train or bus.
However, if you have come all the way to Peru, why not challenge yourself to reach Machu Picchu on foot while experiencing the incredible nature of the Andes?
A pass over 4,600 meters above sea level, snow-covered mountains, valleys that look like jungles, and finally, Machu Picchu appearing at the end of the journey.
It is by no means an easy route, but it will become an unforgettable experience that you cannot get from simply visiting Machu Picchu as a tourist.
There are two major trekking routes to Machu Picchu:
- Inca Trail
- Salkantay Trek
Both are popular routes, but their characteristics are very different.
In this article, I will share our experience of completing the Salkantay Trek as a self-guided trek, including preparation, route details, accommodation, costs, and important tips.
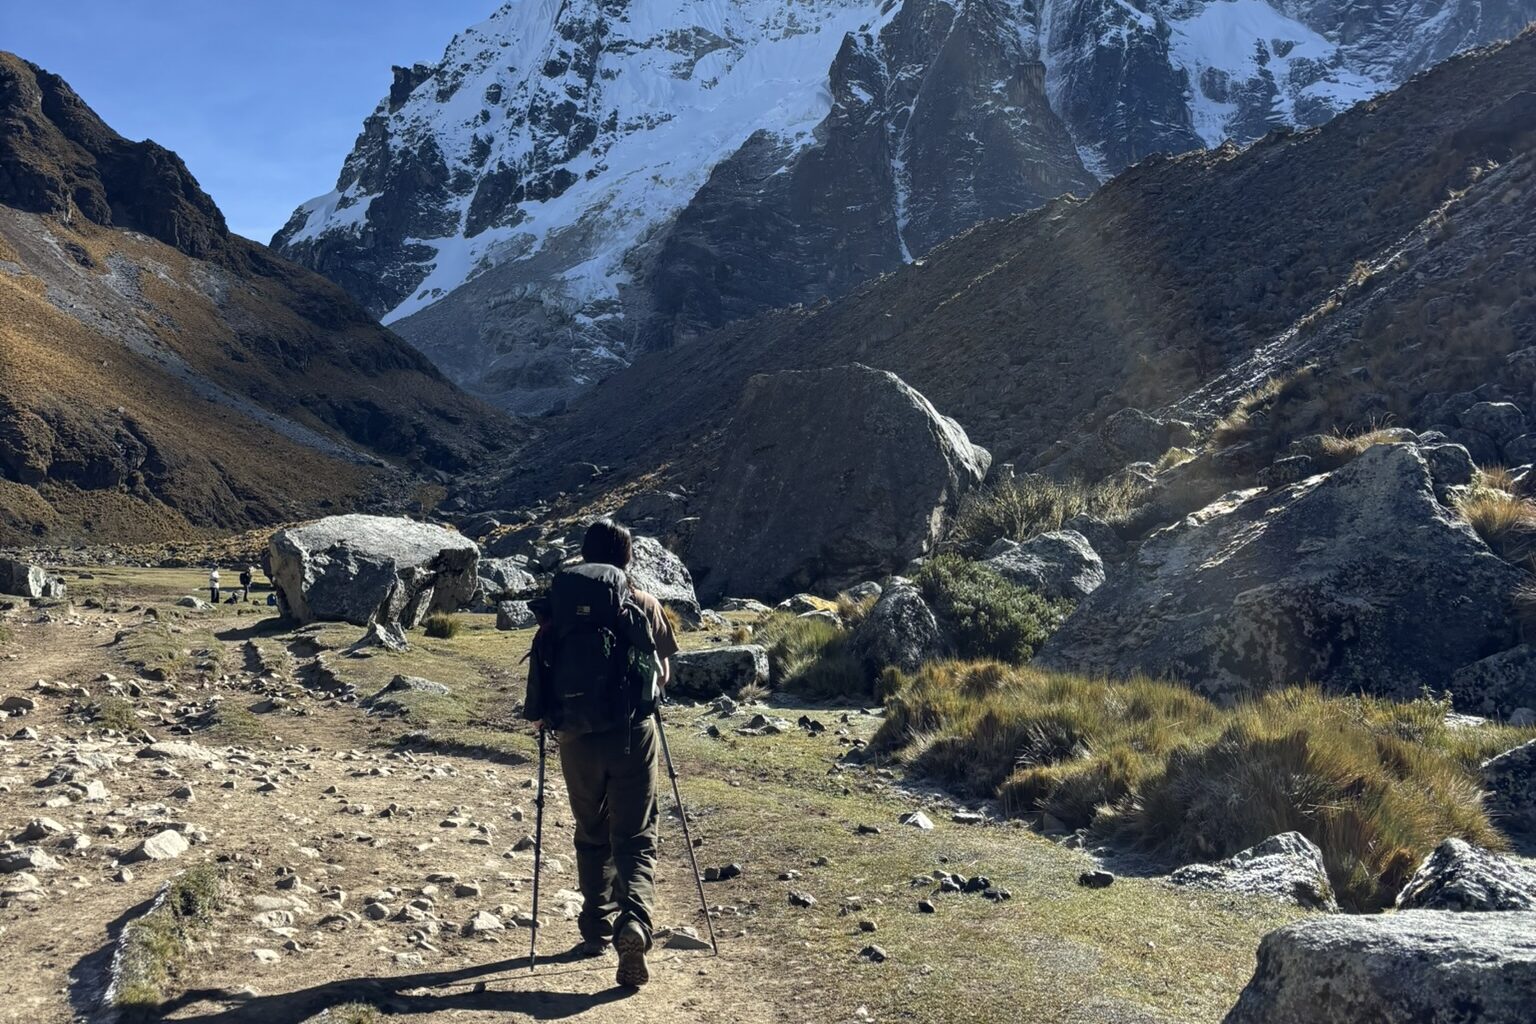
Table of Contents
🏔️Difference Between the Inca Trail and the Salkantay Trek
| Inca Trail | Salkantay Trek | |
|---|---|---|
| Duration | 2 nights 3 days / 3 nights 4 days | 3 nights 4 days / 4 nights 5 days |
| Distance | Approx. 40–45 km | Approx. 70–80 km |
| Highest point | Approx. 4,200 m | Approx. 4,600–4,650 m |
| Permit | Required | No special permit required |
| Guide | Mandatory (self-guided trekking is not allowed) | Possible without a guide |
| Main attraction | Ancient Inca paths and archaeological sites | Incredible nature and changing landscapes |
Characteristics of the Inca Trail
The Inca Trail is a route where you walk along the actual paths used during the Inca Empire while visiting several archaeological sites along the way. At the end of the trail, you can see Machu Picchu from the “Sun Gate” (Inti Punku). However, because of its popularity, the number of visitors is limited, and reservations are required several months in advance.
Characteristics of the Salkantay Trek
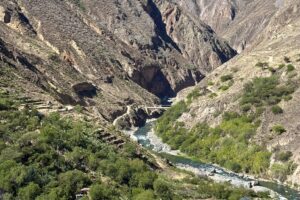
Unlike the Inca Trail, the Salkantay Trek is a route focused more on nature than man-made structures. You cross the Salkantay Pass, which reaches over 4,600 meters, while enjoying views of the snow-covered Salkantay Mountain. In addition, the scenery changes dramatically over several days — from the harsh landscapes of the high Andes to warm jungle-like valleys.
The biggest advantage is that no special permit is required. Although joining a tour is the most common option, there are accommodations and food available along the way, making it possible to complete the trek independently.
🥾Why We Chose to Do the Salkantay Trek Independently
To put it simply, we were extremely happy that we chose to do it independently.
Of course, joining a tour has many advantages:
- Your luggage is carried for you
- Meals are prepared
- You do not have to worry about getting lost
However, we decided to do a self-guided trek.
The reasons are shown below:
| Tour | Independent |
|---|---|
| Fixed schedule | Walk at your own pace |
| Usually camping | Choose your own accommodation |
| Expensive | Less than half the price of a tour |
There were three major advantages.
1. You can walk at your own pace
Take a break when you are tired. Stop when you see a beautiful view. Decide whether to start early in the morning or take it slowly. You can also adjust the distance you walk each day. For a long-distance trek, this freedom makes a huge difference.
2. You can stay in lodges
Along the Salkantay Trek, there are small villages with accommodation options. This means you do not need to carry heavy camping equipment such as tents and sleeping bags. The accommodation is also affordable. While tours usually involve camping, independent hikers can sleep in a proper bed every night.
3. It is significantly cheaper
Even though we stayed in accommodation every night for four days, our total cost was much lower than joining a tour. For people who have enough physical strength to carry their own bags and walk long distances, I believe doing the Salkantay Trek independently is definitely worth considering.
🎒Preparation
What to Bring
During the Salkantay Trek, there are villages and accommodation along the route. Therefore, you do not need to carry all your camping equipment.
Basically, you only need:
- Clothing
- Food
- Warm layers
- Trekking equipment
These are the items we brought:
1. Food and Snacks for 4 Days
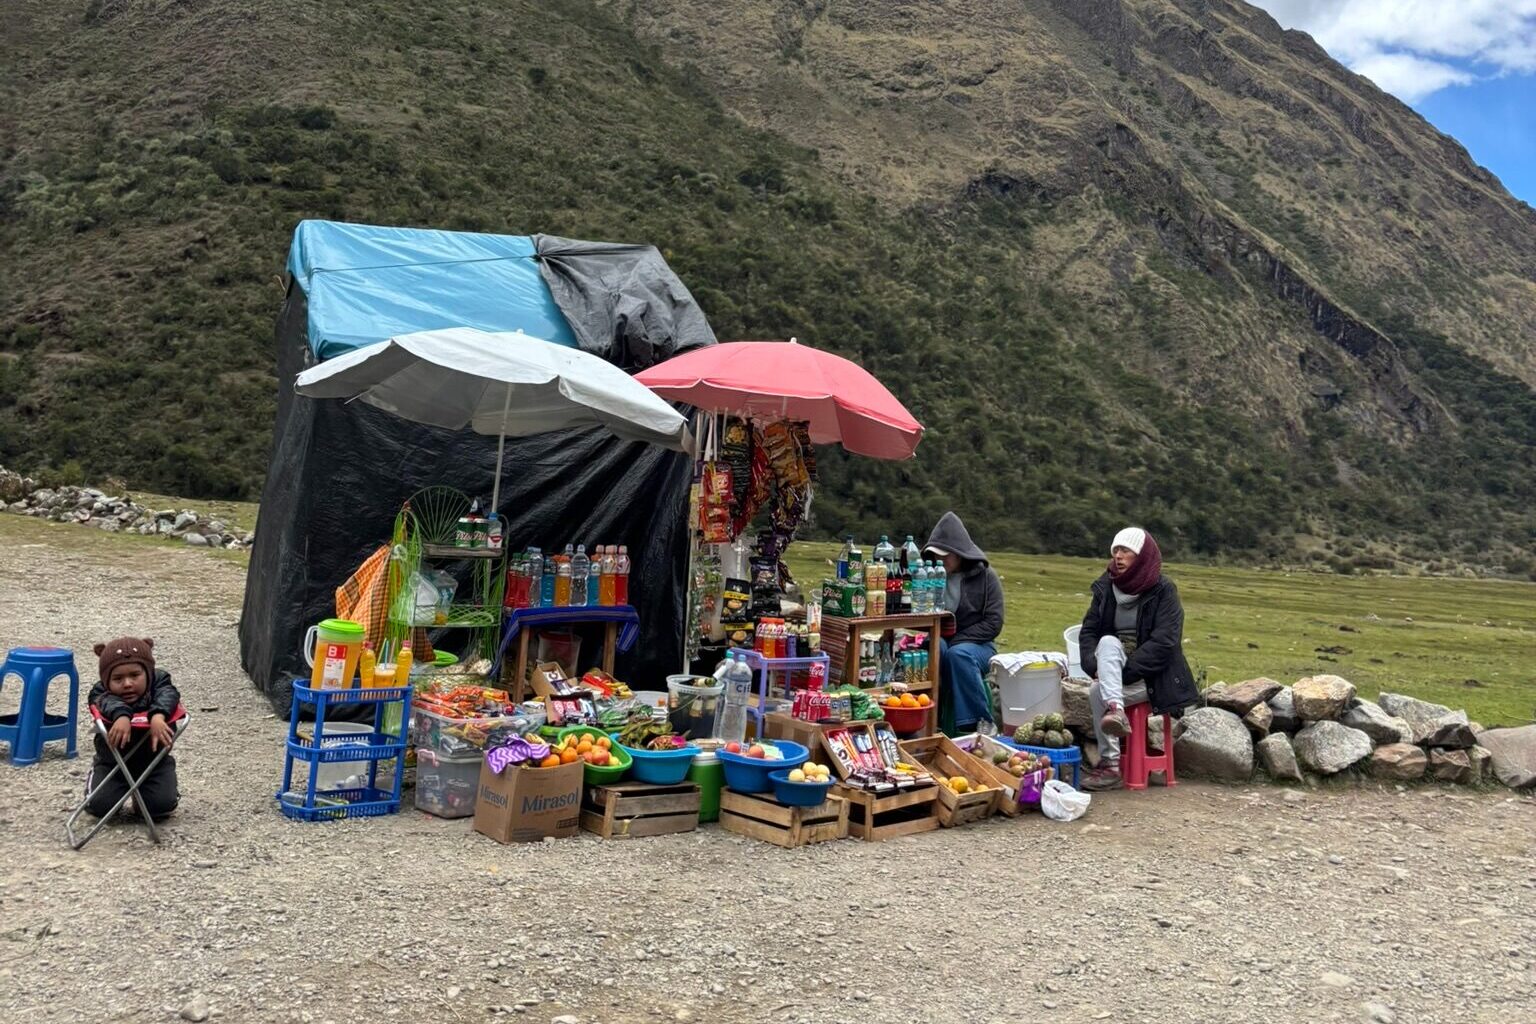
Since the accommodations provide breakfast and dinner, the only meal you mainly need to prepare is lunch. You can buy food and water in villages along the way, but prices are higher. We bought supplies in Cusco and carried them with us.
2. Warm Clothing
This is essential. The area around Salkantay Pass is especially cold, and temperatures drop significantly at night. We recommend bringing a down jacket, gloves, and a warm hat.
3. Toiletries
The lodges have showers. However, even if a place says it has a “hot shower,” the water may sometimes be cold depending on the time of day.
4. Insect Repellent
This is something many people forget, but it becomes important on Day 4. There are many mosquitoes along the railway path from Hidroeléctrica to Aguas Calientes. The bites can remain itchy for several days.
5. Bandages and Athletic Tape
Personally, I found these extremely important. The trail has many rocky and uneven sections, making it difficult to walk. Especially on downhill sections, your feet take a lot of stress, and blisters are common.
6. Trekking Poles
Highly recommended. They are especially useful during long downhill sections rather than uphill climbs. They also help reduce stress on your knees.
7. Altitude Sickness Medicine
We had already spent several months traveling in high-altitude areas, so we did not experience altitude sickness. However, if you start this trek soon after arriving in Cusco, bringing altitude sickness medicine can provide extra security.
8. Passport
Absolutely do not forget it. You need your passport both when purchasing Machu Picchu tickets and when entering Machu Picchu.
9. Cash
During the trek, most payments are made in cash. There are no ATMs until you reach Aguas Calientes. You need to bring enough money for accommodation, food, drinks, and other expenses.
🎫About Machu Picchu Tickets
There are two main ways to purchase Machu Picchu tickets.
① Buying Online
The first option is purchasing tickets in advance through the official website or other online platforms.
The advantage is that you can secure your preferred date and circuit.
However, popular circuits can sell out more than a month in advance. Also, because tickets are date-specific, this option can be inconvenient for backpackers whose travel plans often change.
② Buying Tickets in Aguas Calientes
The second option is purchasing tickets at the ticket office in Aguas Calientes, the town located at the base of Machu Picchu.
The price is the same as online tickets.
However, there can be long lines, and you may have to wait several hours. Usually, you can purchase a ticket for the following day, but if tickets are sold out, you may have to wait an additional day.
Our Experience
Because we could not predict our schedule, we decided not to buy tickets in advance.
We headed to Aguas Calientes prepared to wait in a long line, but surprisingly, there was no line at all. We were able to purchase tickets for the next day immediately.
Based on information we heard from other backpackers, at least around June–July 2026, buying tickets locally seemed to be a realistic option.
📆Day-by-Day Salkantay Trek Itinerary
Day 1: Challacancha → Soraypampa → Humantay Lake
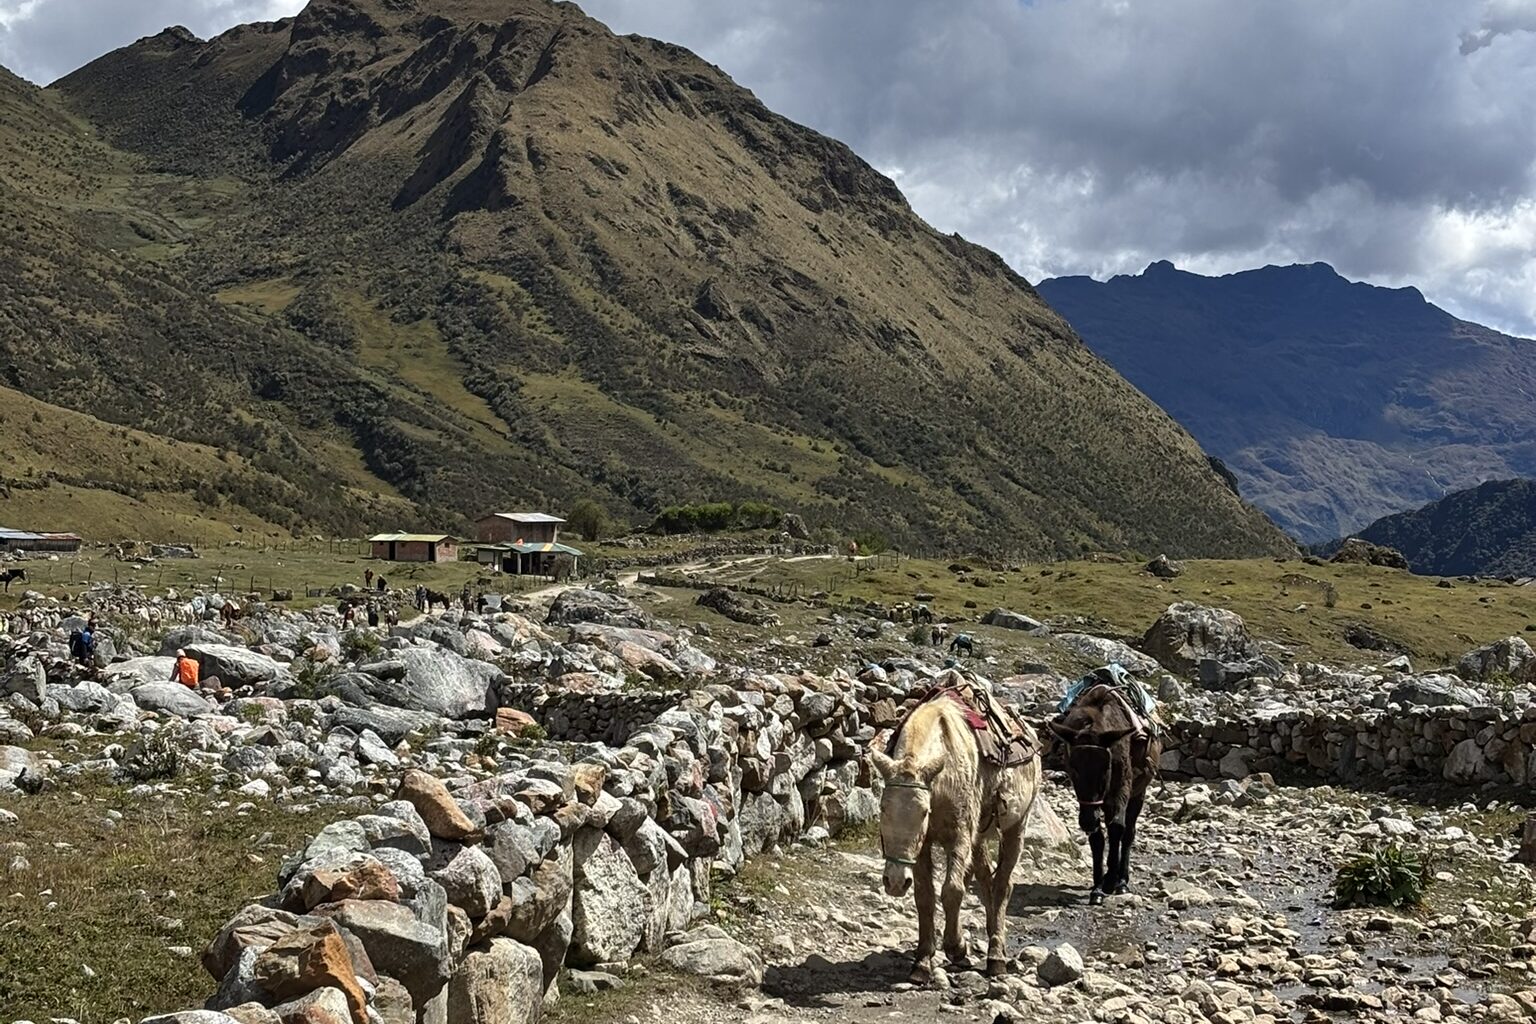
Distance: Approx. 12 km
Highest altitude: Approx. 4,200 m
Difficulty: ★★☆☆☆
Getting to the Starting Point from Cusco
First, we took a shared bus from Cusco to Challacancha, the starting point of the Salkantay Trek. The journey took around 3 hours. The bus station is located in Cusco city, and buses leave once they are full.
▼ The location of the bus stop
The price was around 45–50 soles per person. We arrived at the bus station around 7:00 AM. Most hikers take an earlier bus around 5:00–6:00 AM so they can start walking earlier, so there were already fewer people at this time.
Transfer at Mollepata
Along the way, we changed to a small taxi in a village called Mollepata. The taxi fare was already included in the bus price, so there was no additional cost.
Some people also choose to start walking from Mollepata. However, in that case, the first day becomes a much harder route of approximately 19 km with about 1,300 m of elevation gain.
Arrival at Challacancha
After about one hour from Mollepata, we finally arrived at Challacancha. This is where the real Salkantay Trek begins.
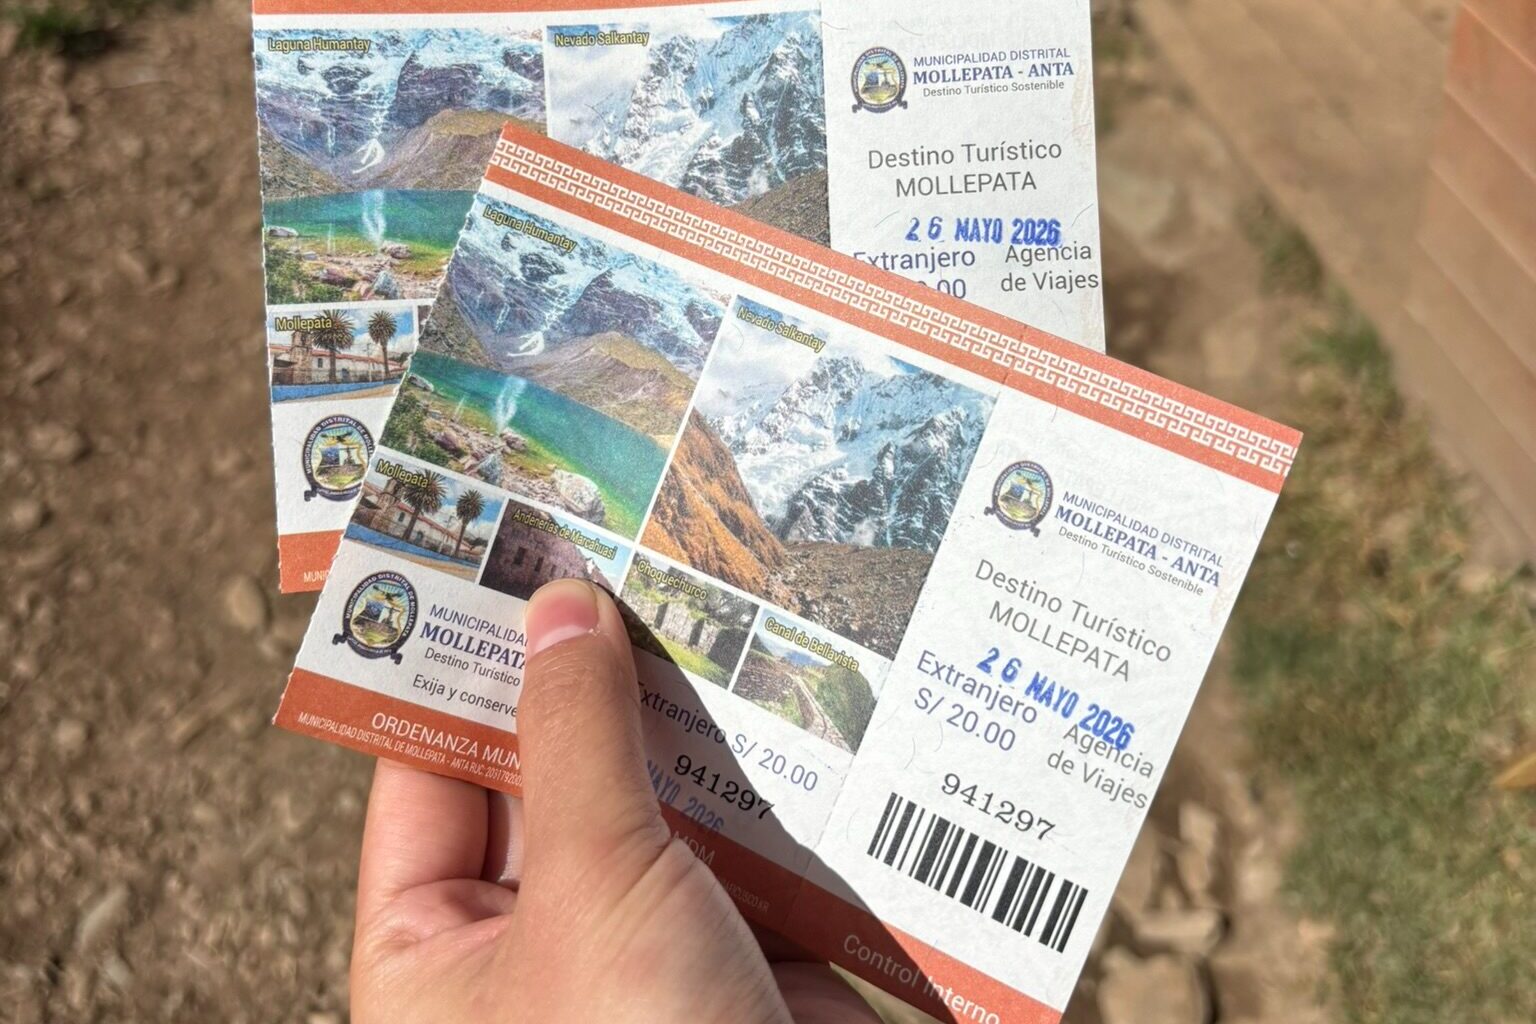
Along the way, you pass through the entrance area of the Salkantay Trek route, where you need to purchase an entrance ticket. The cost was 20 soles per person.
From there, we started walking toward Soraypampa, where we would spend the first night. The distance was approximately 6.8 km. Since it was the first day, it was physically quite comfortable.
Soraypampa Hostel
We stayed at Soraypampa Hostel. It is well-known among hikers, and many trekkers choose to stay there. We visited at the end of May during high season, but we had no problem booking the day before. Also, booking directly through WhatsApp was cheaper than using Booking.com.
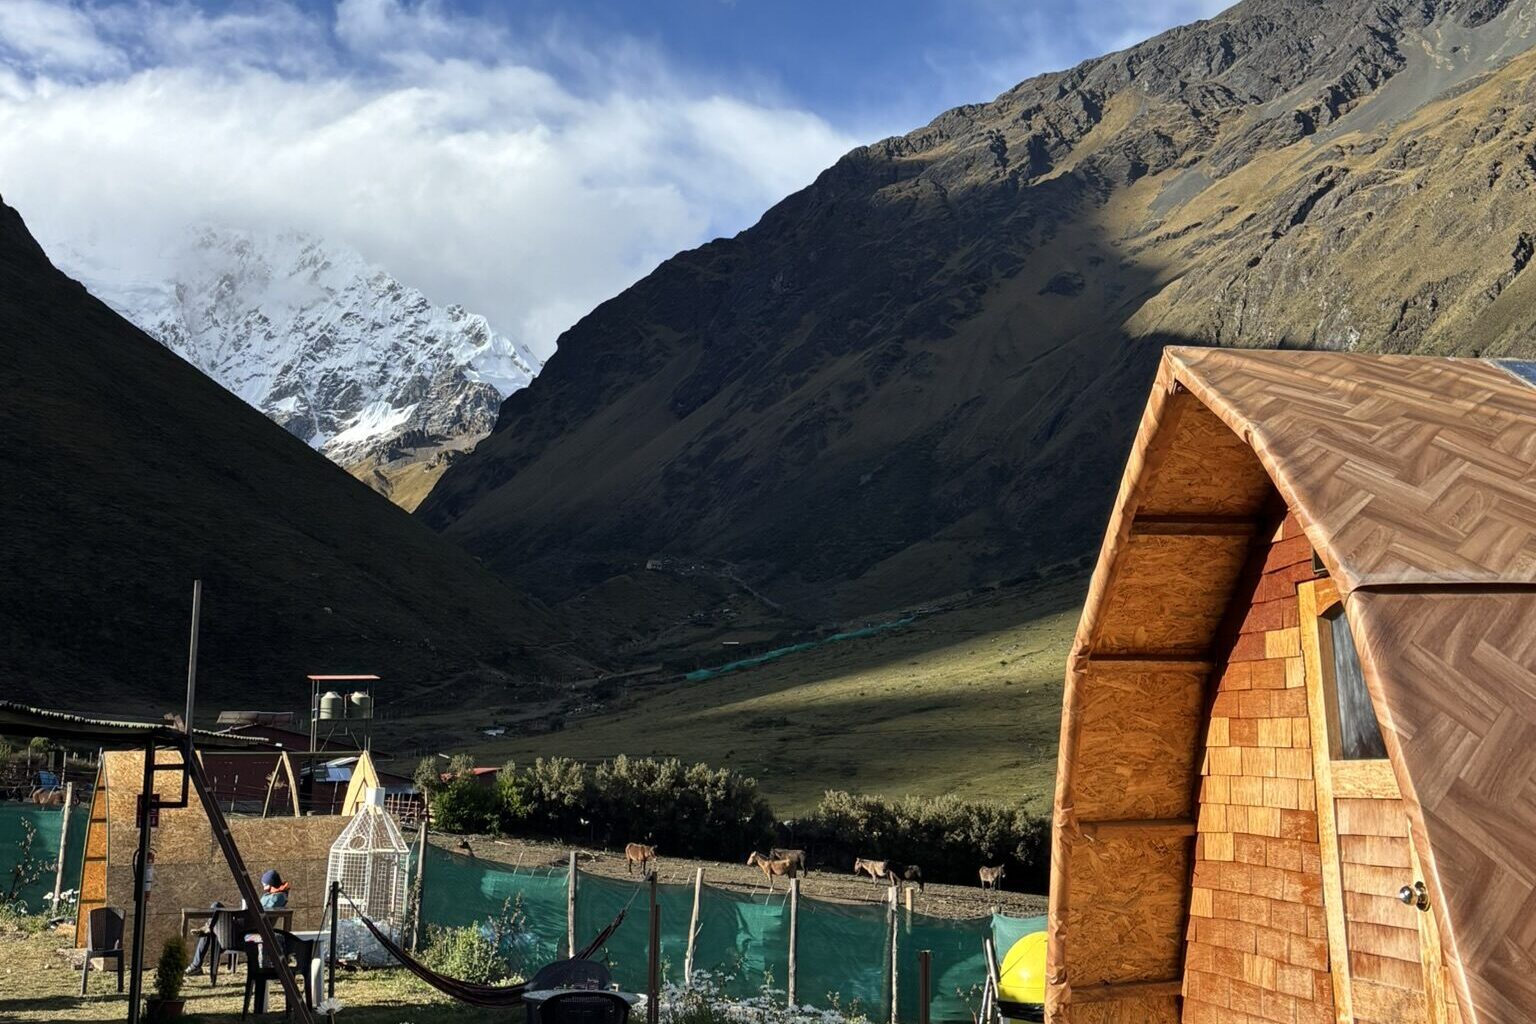
🛏️Accommodation Information
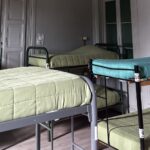
- Price: 35 soles per person (9-person dormitory)
- Breakfast: 20 soles
- Dinner: 20 soles
- Private rooms available
- Shower available (it was cold water when we stayed)
- Free hot tea and coffee
- Wi-Fi available
Humantay Lake
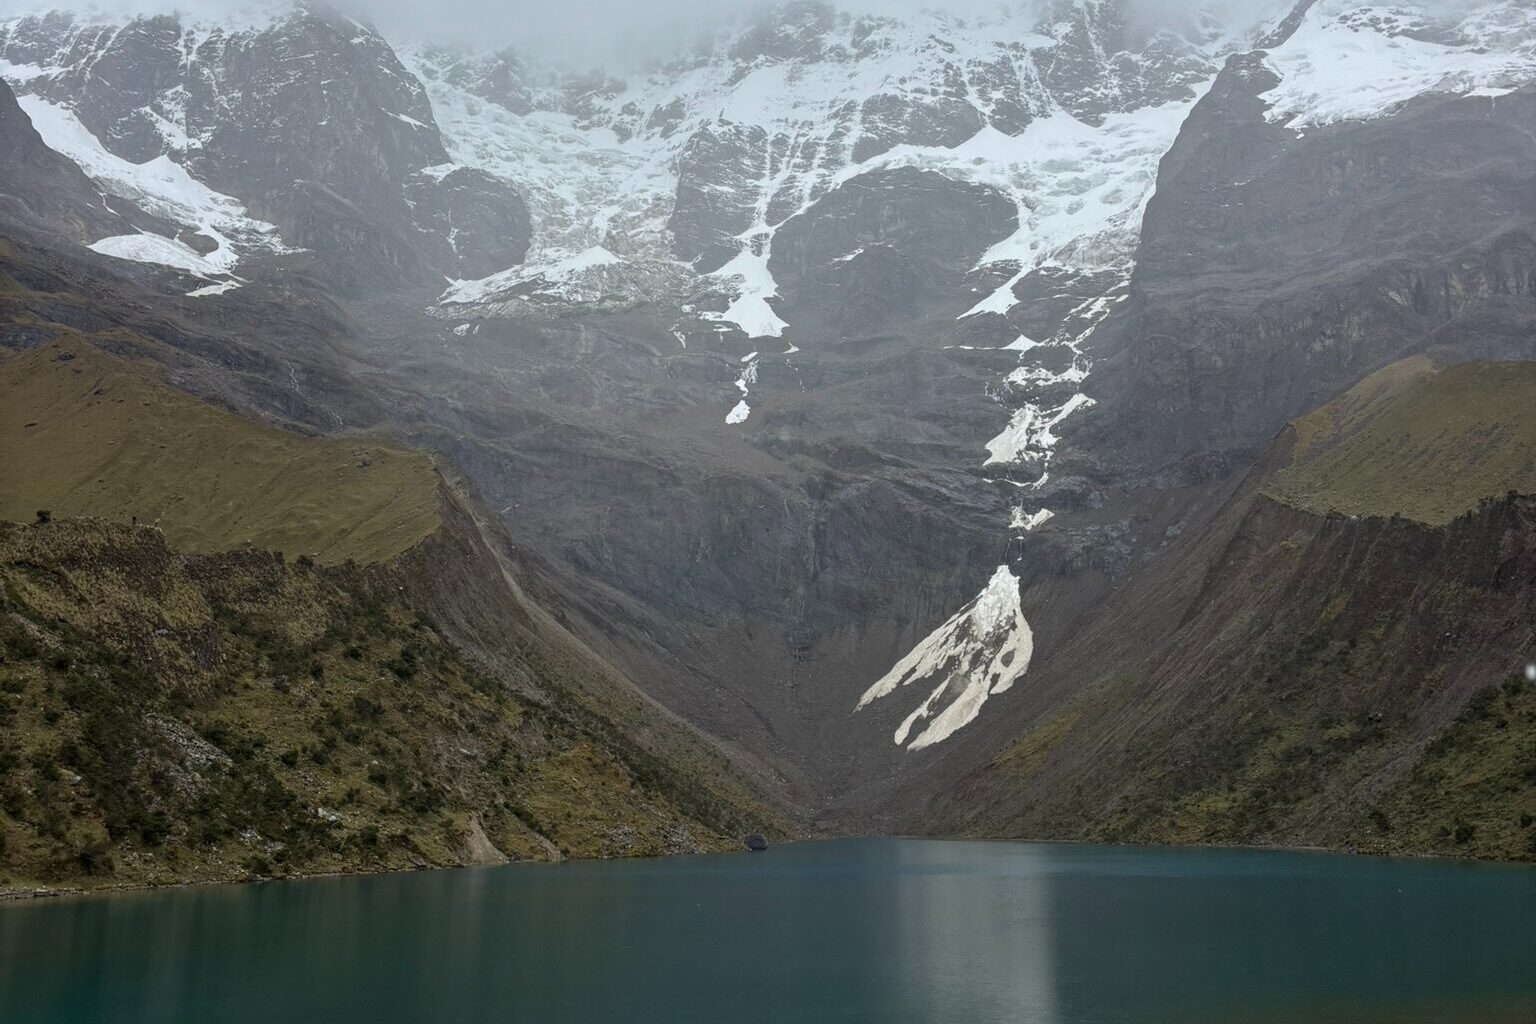
After checking in and having lunch, we headed to Humantay Lake.
Distance: Approx. 4.5 km
Elevation gain: Approx. 414 m
Tour groups usually visit in the morning, so the afternoon was relatively less crowded. The round trip took around 1.5 hours.
The weather was cloudy, which was slightly disappointing, but it was a good warm-up to help us adjust to the altitude.
Evening in Soraypampa
After returning to the hostel, we tried to take a shower, but unfortunately, the water was completely cold. It was a little disappointing, but we warmed ourselves up with free hot tea while resting.
Dinner started at 5:00 PM. Many hikers gathered in the dining area, creating a lively atmosphere. The meal included popcorn, soup, and fried rice, and it was delicious.
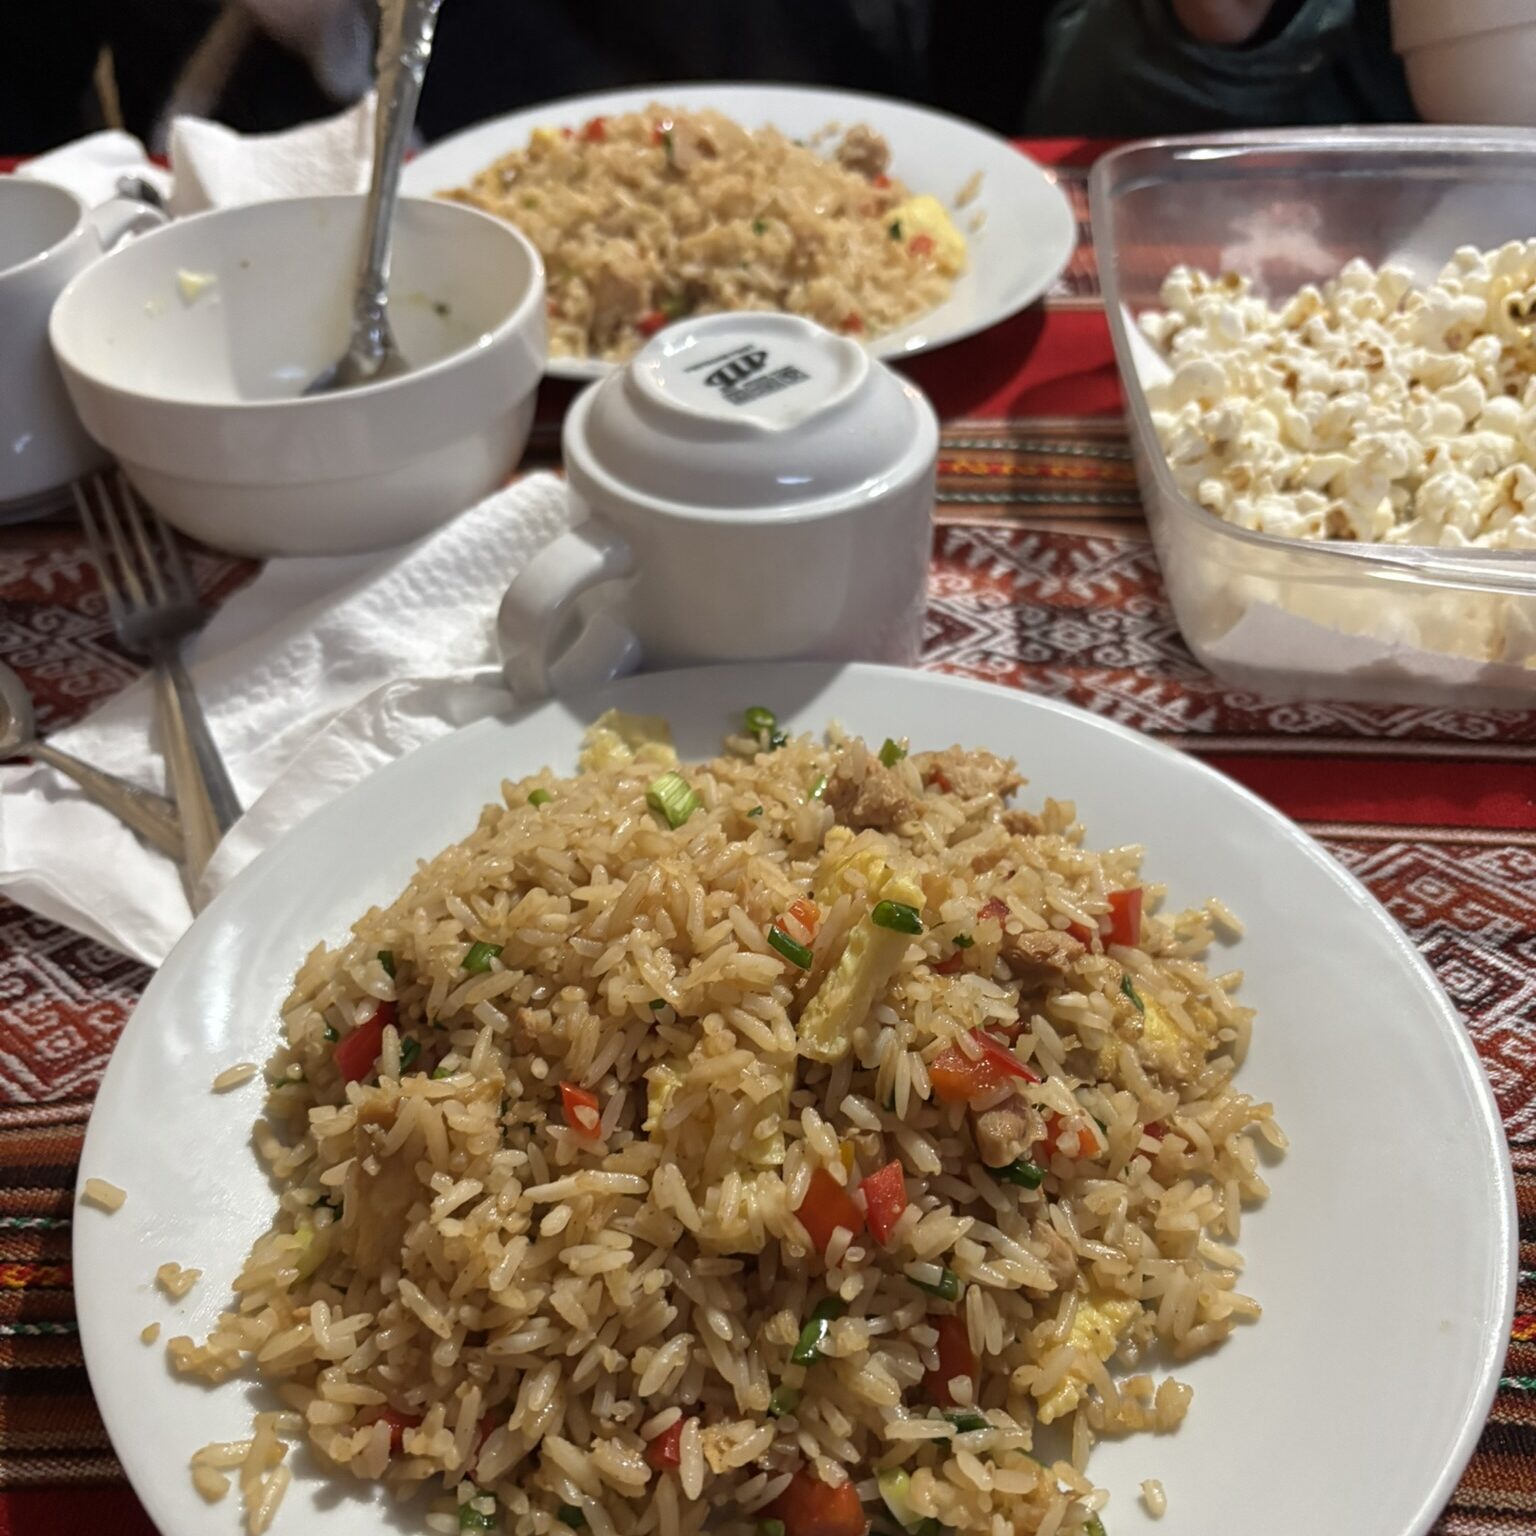
Breakfast started at 5:30 AM the next morning, and most people went to sleep around 8:00 PM.
Day 2: Soraypampa → Salkantay Pass → Chaullay
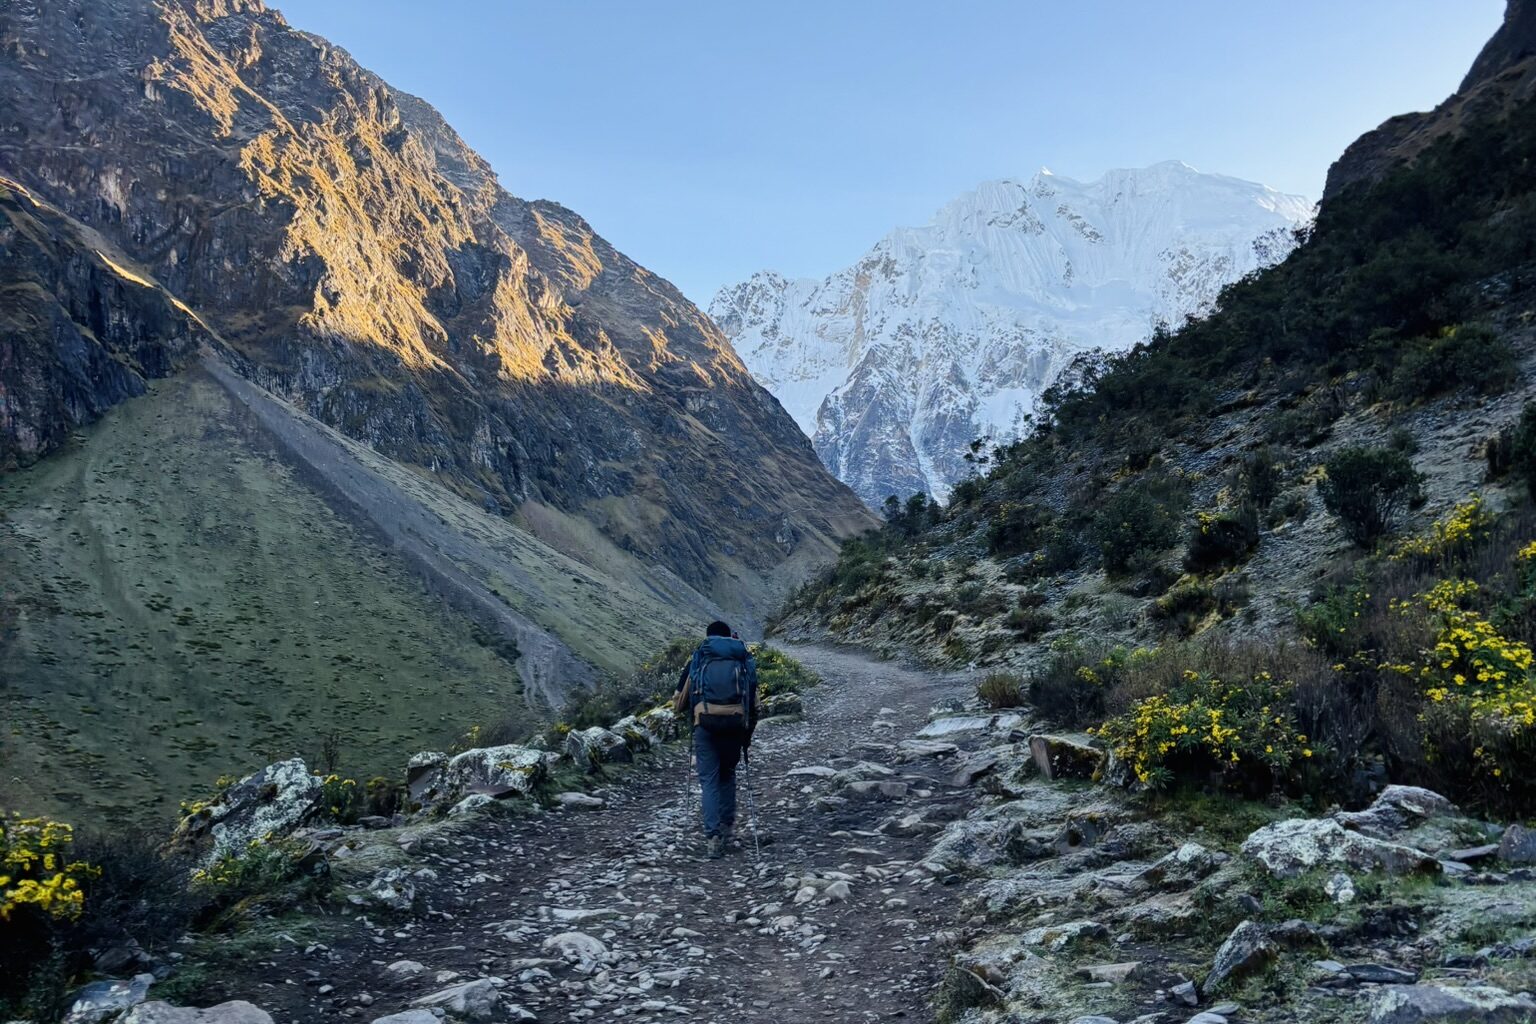
Distance: Approx. 20 km
Highest altitude: Approx. 4,600–4,650 m
Difficulty: ★★★★★
The Biggest Challenge of the Salkantay Trek
Breakfast started at 5:30 AM. Apparently, eggs and potatoes were usually included, but because the food was served late, we only had bread and watermelon before leaving.
We started walking around 6:00 AM. The biggest goal of the day was crossing Salkantay Pass. The first approximately 7 km involved a steep climb, taking us directly above 4,600 meters in altitude.
Challenge at 4,600 Meters
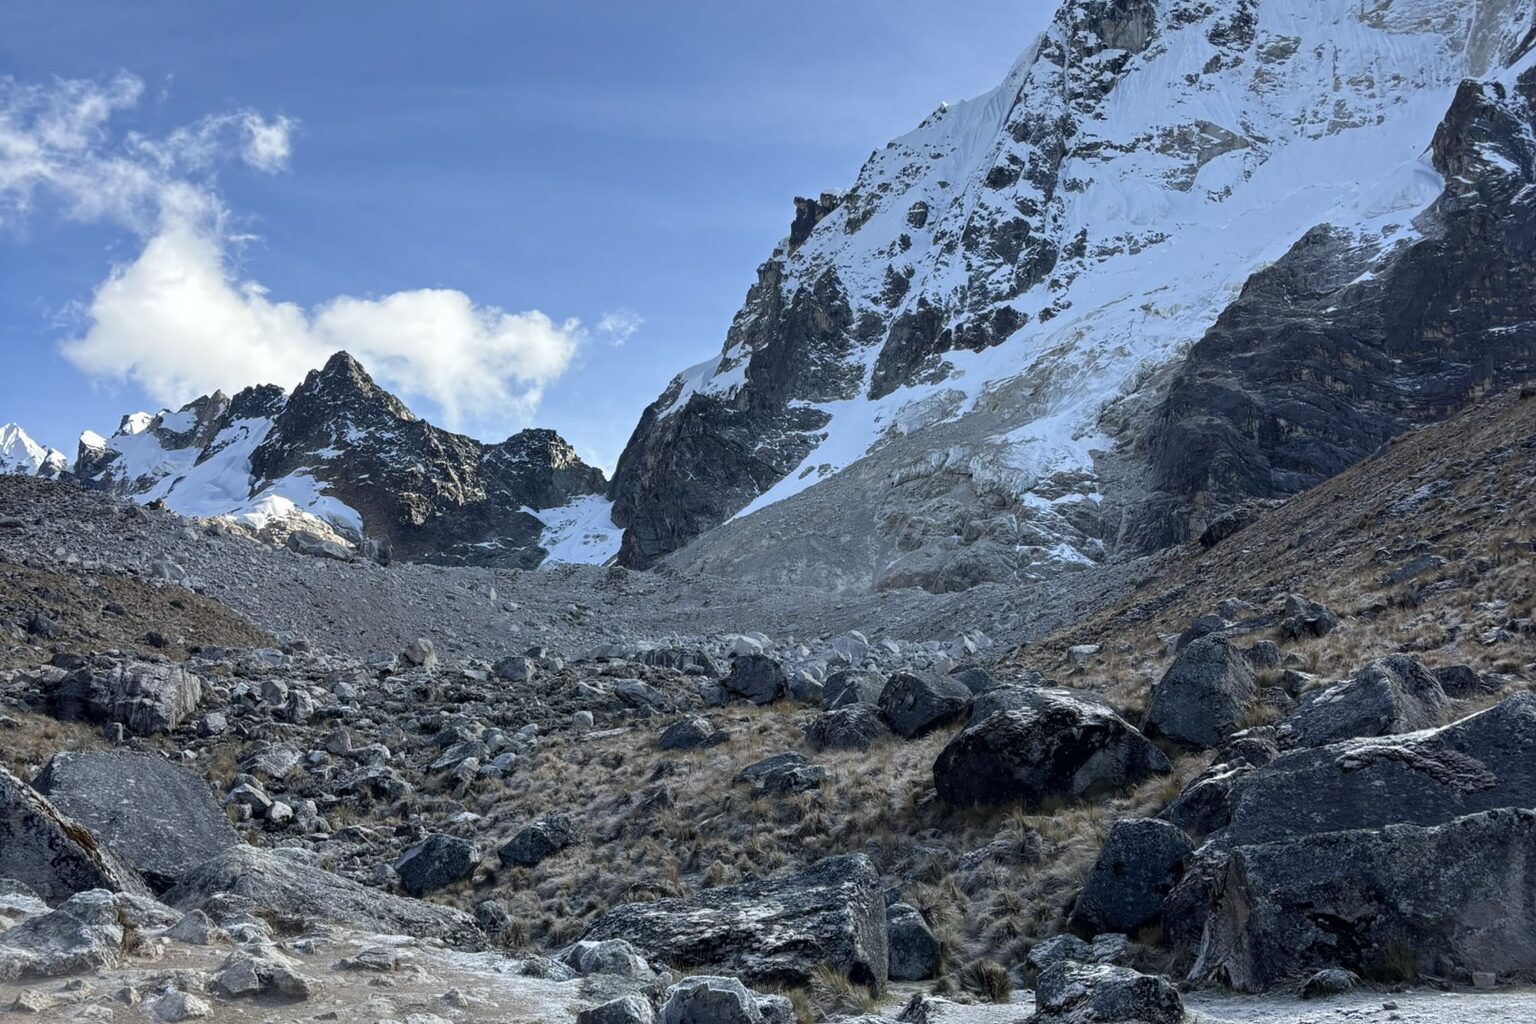
We had already spent time traveling in high-altitude areas, so we did not experience altitude sickness. However, climbing 800 meters at an altitude of 4,600 meters was still extremely difficult.
Every step felt heavy, and we became out of breath very quickly. If needed, you can also hire a horse or mule by paying extra.
Arrival at Salkantay Pass
Around 9:30 AM, we finally reached the pass. In front of us was the snow-covered Salkantay Mountain. The incredible view made all the exhaustion disappear.
After taking a short break, we started descending around 10:00 AM.
The 13 km Downhill Battle
After crossing the pass, we had to walk approximately 13 km downhill. The trail was full of rocks and difficult to walk on, requiring constant attention.
Because of the large stones, I lost my balance several times. I tripped about five times and twisted my ankle.
On top of that, I started getting sick with a cold that day, and my condition gradually worsened. Even after resting, I did not recover, and during the final 5 km, I was overtaken by many hikers while struggling to continue.
Arrival at Chaullay
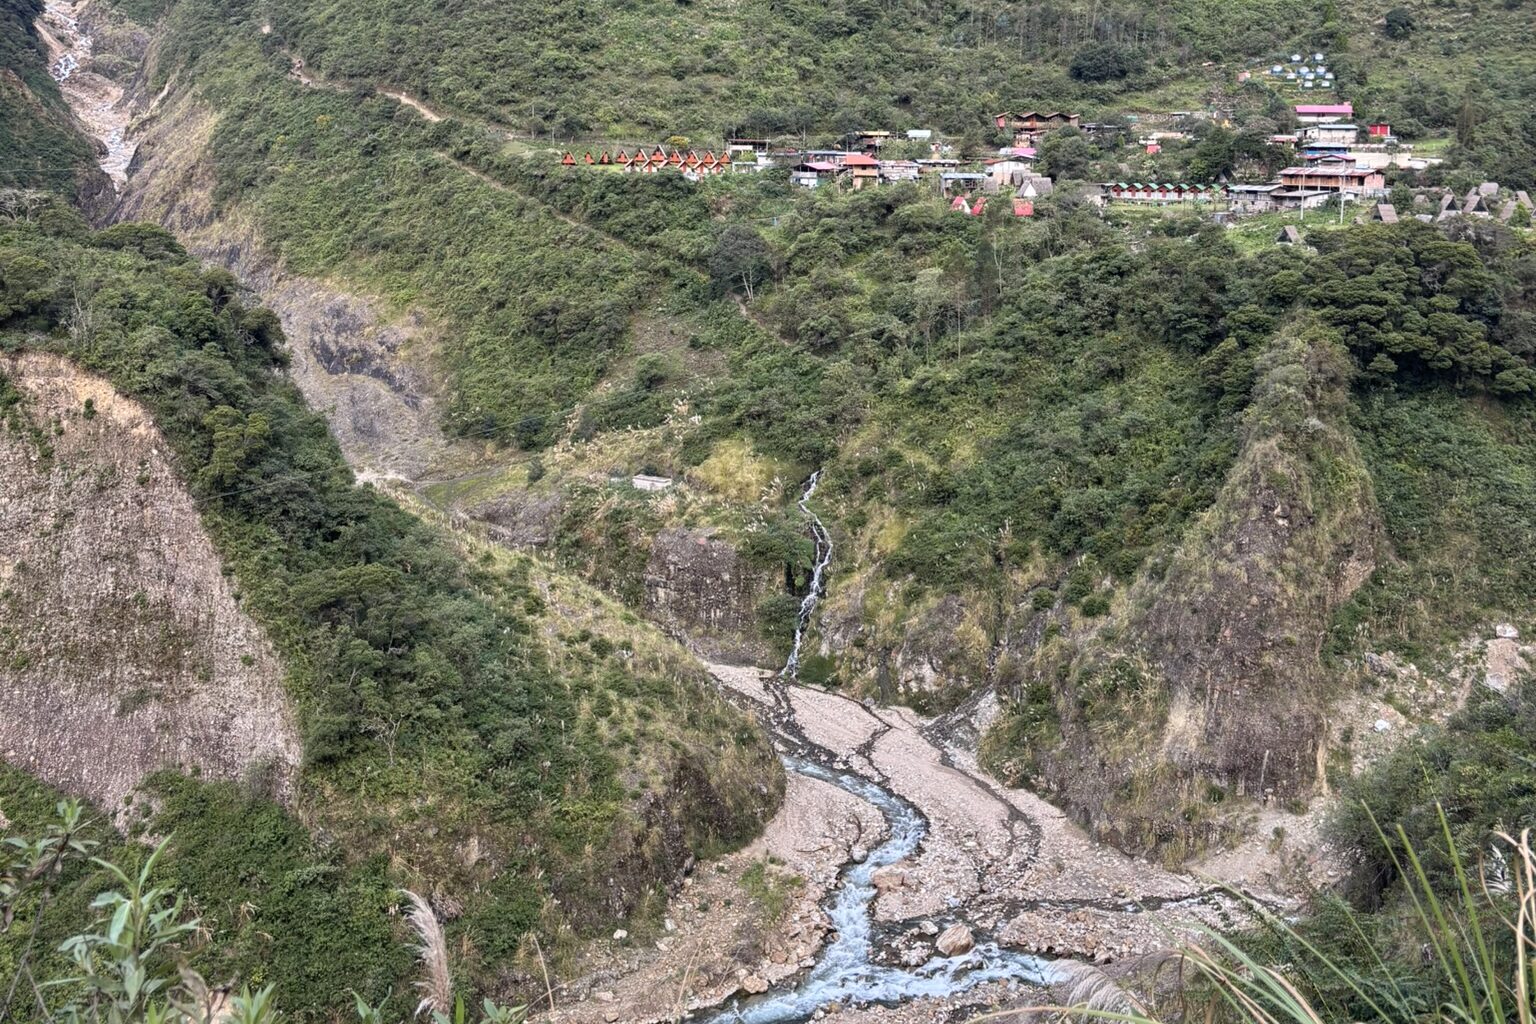
Around 4:00 PM, we finally arrived at our accommodation for the second night. We walked approximately 45,000 steps that day.
Physically, it was one of the most exhausting days of the entire trek.
🛏️Accommodation on Day 2
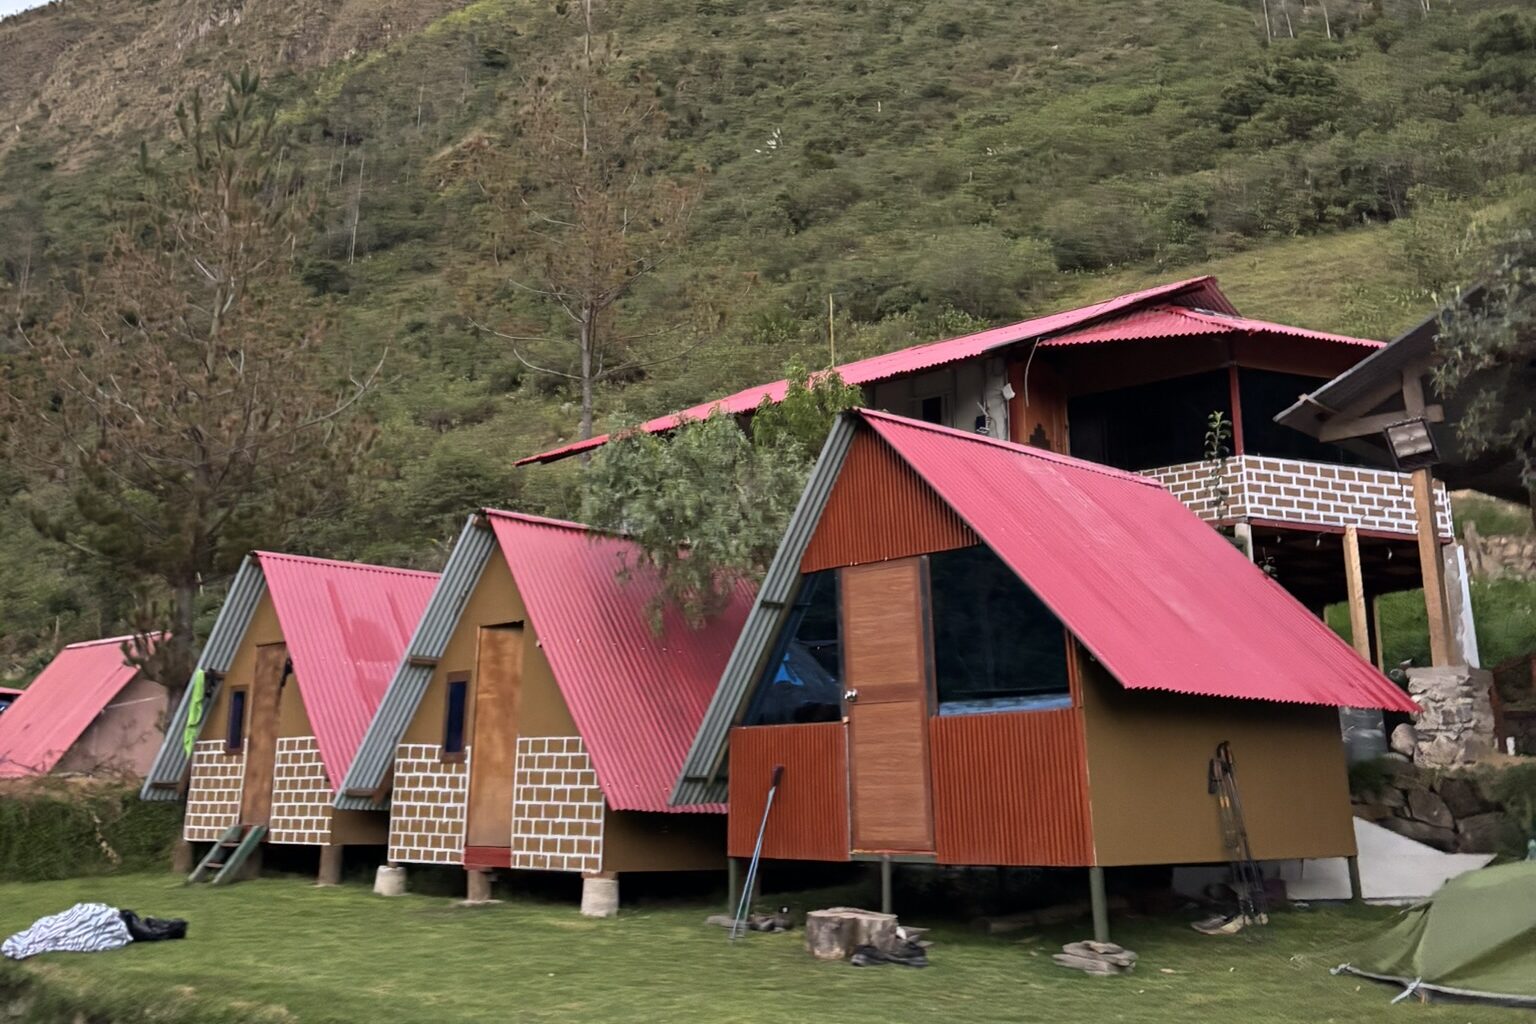
Hospedaje El Molle-Capulichayoc
- Price: 50 soles per person
- Breakfast and dinner included
- Private room
- Private shower and toilet
- Hot shower available
- Wi-Fi available
It was simple, but comfortable.
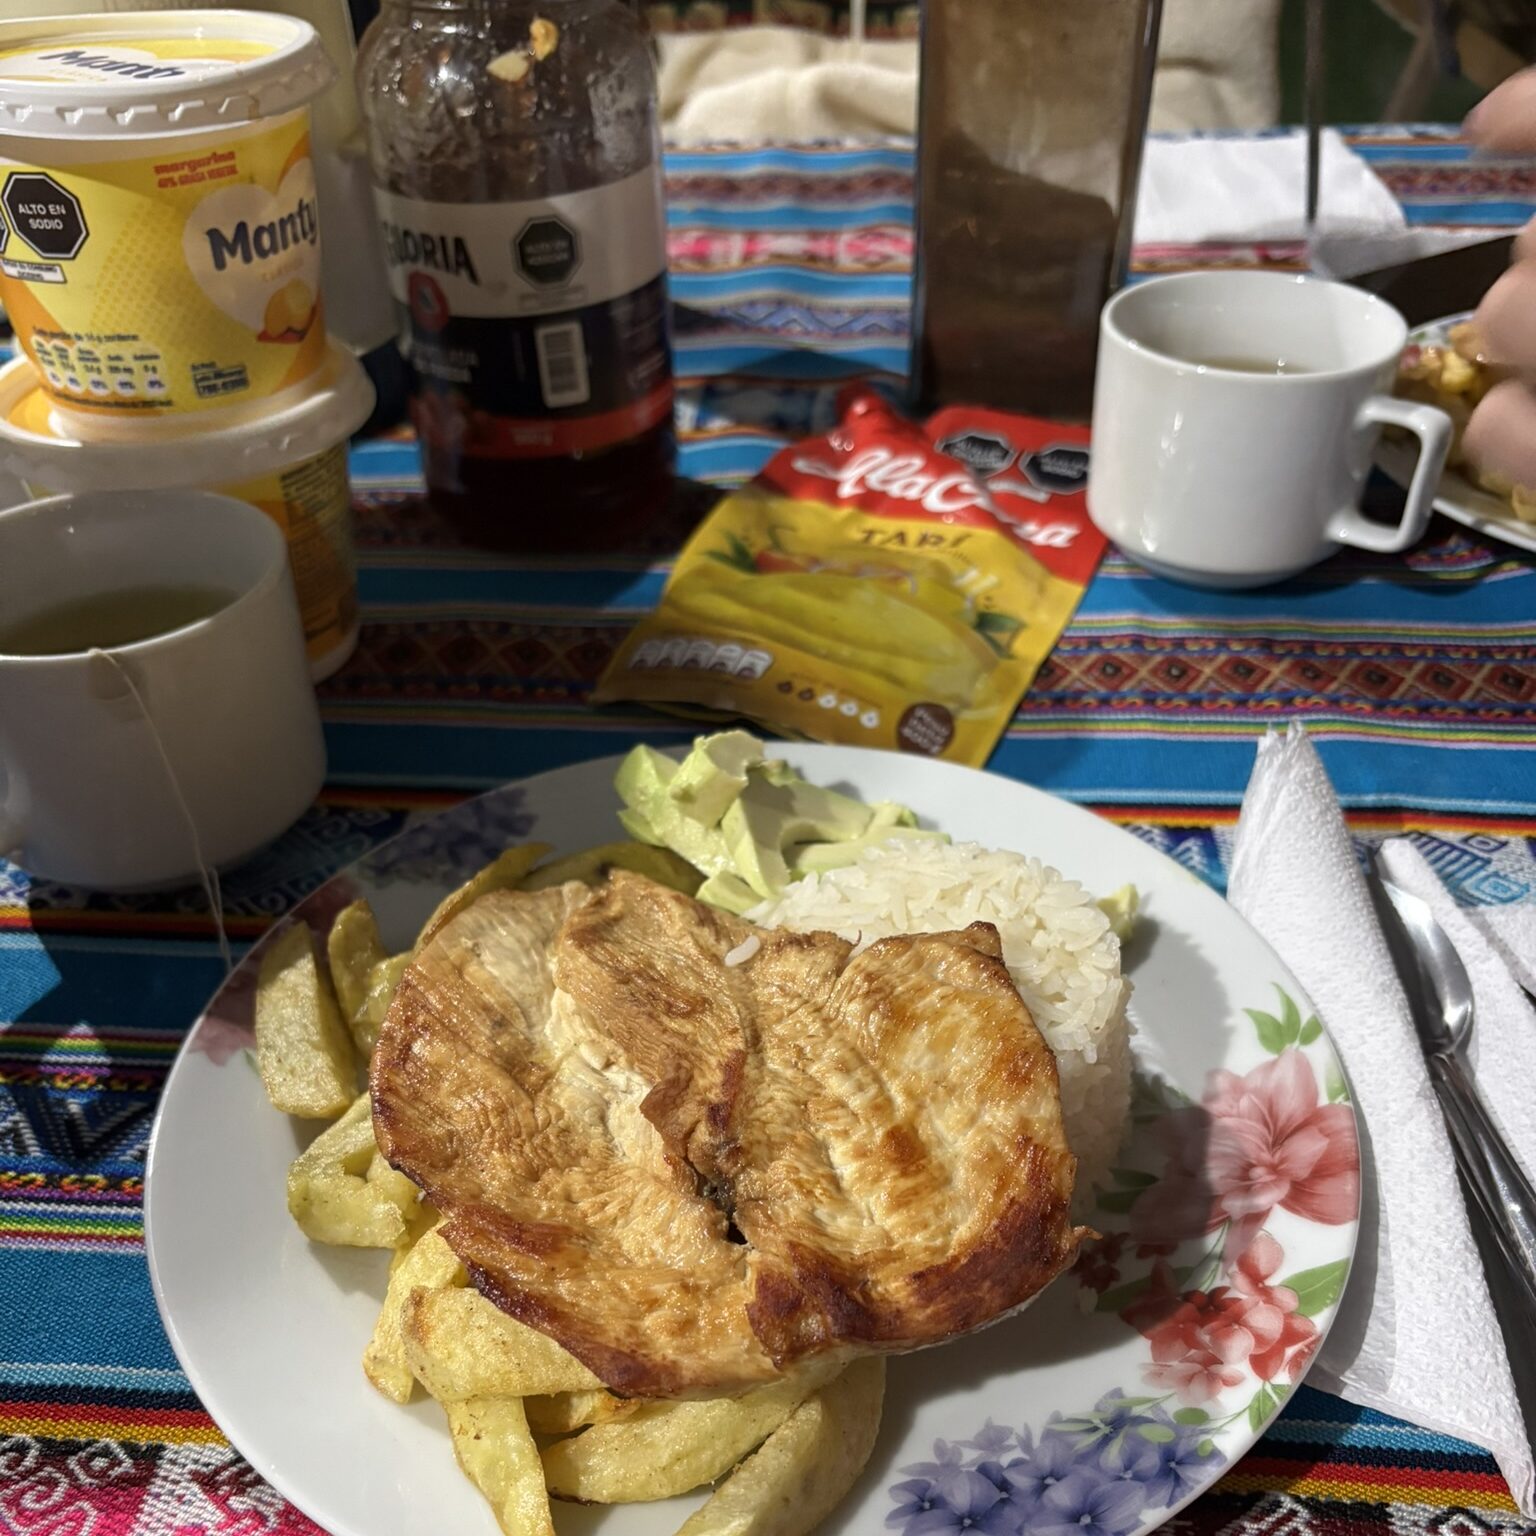
Dinner included soup, chicken, potatoes, and rice. For 50 soles, it was surprisingly generous, and it was the perfect meal after such an exhausting day.
Day 3: Chaullay → Llucmabamba → Llactapata
Distance: Approx. 23 km
Elevation gain: Approx. 700 m (final climb)
Difficulty: ★★★★★
From Chaullay to Llucmabamba
The night before, my cold became worse, and I even considered taking a bus to Santa Teresa the next day. However, when I woke up in the morning, I unexpectedly felt better, so I decided to continue walking as planned.
After having breakfast consisting of bread, juice, and eggs, we left around 6:30 AM.
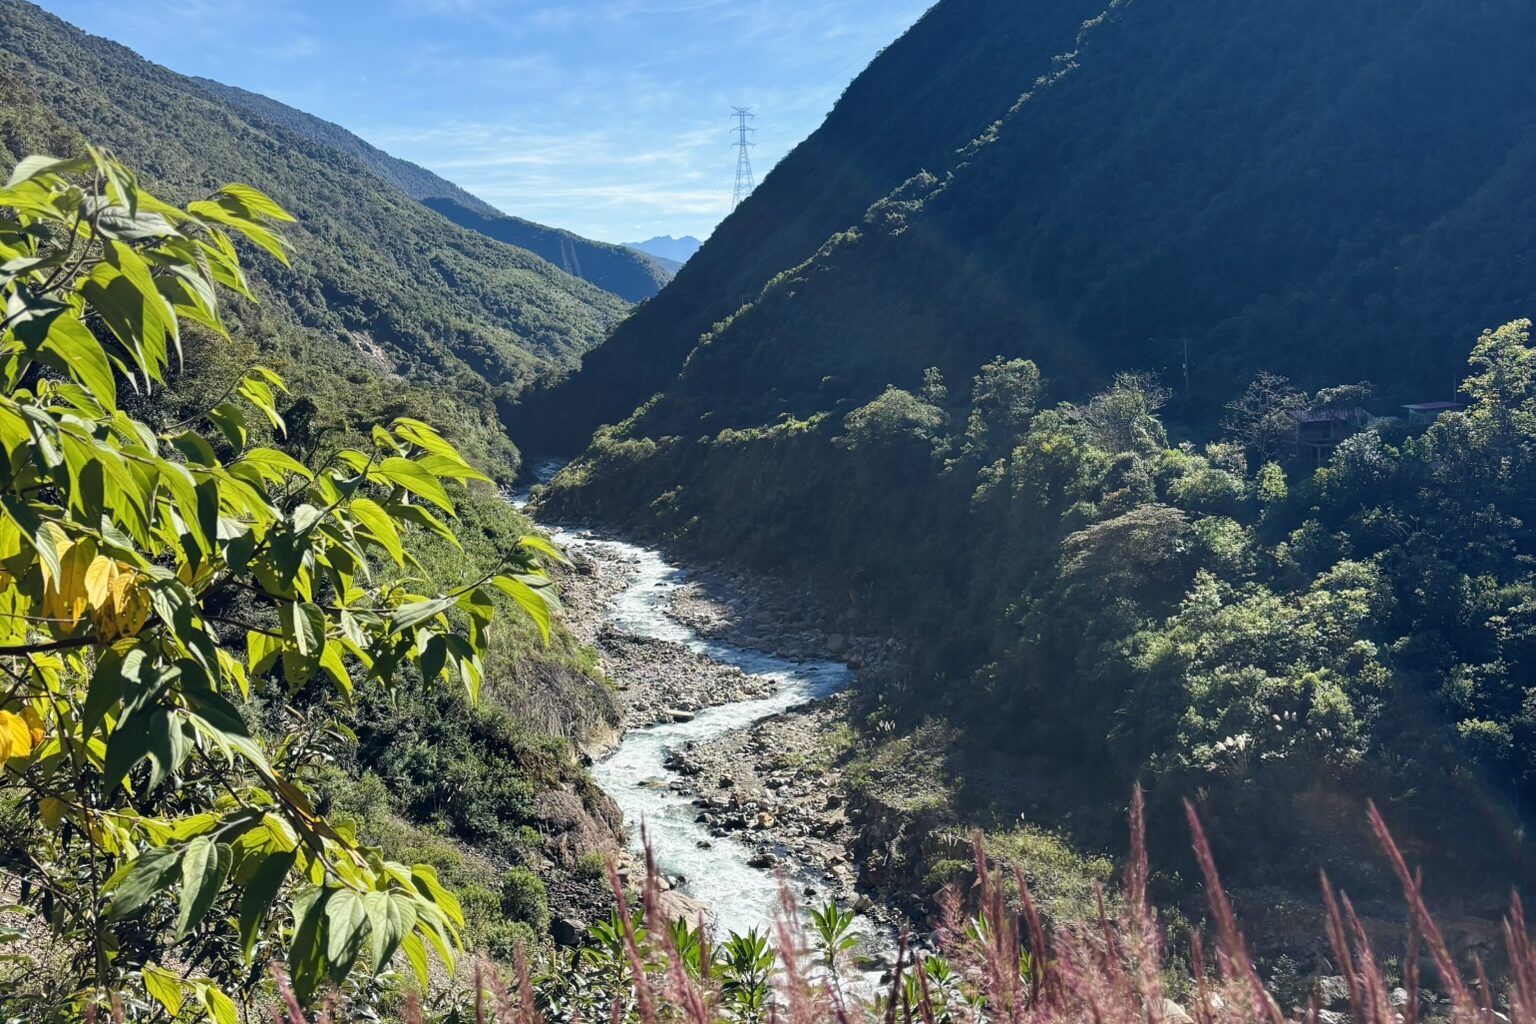
From Chaullay to Llucmabamba, it is approximately 18 km and mostly downhill. At first glance, downhill sections seem easier than uphill sections. However, in reality, descending is often harder on your body. With the fatigue from the previous day still remaining, the 18 km downhill walk was much more exhausting than expected.
Arrival at Llucmabamba
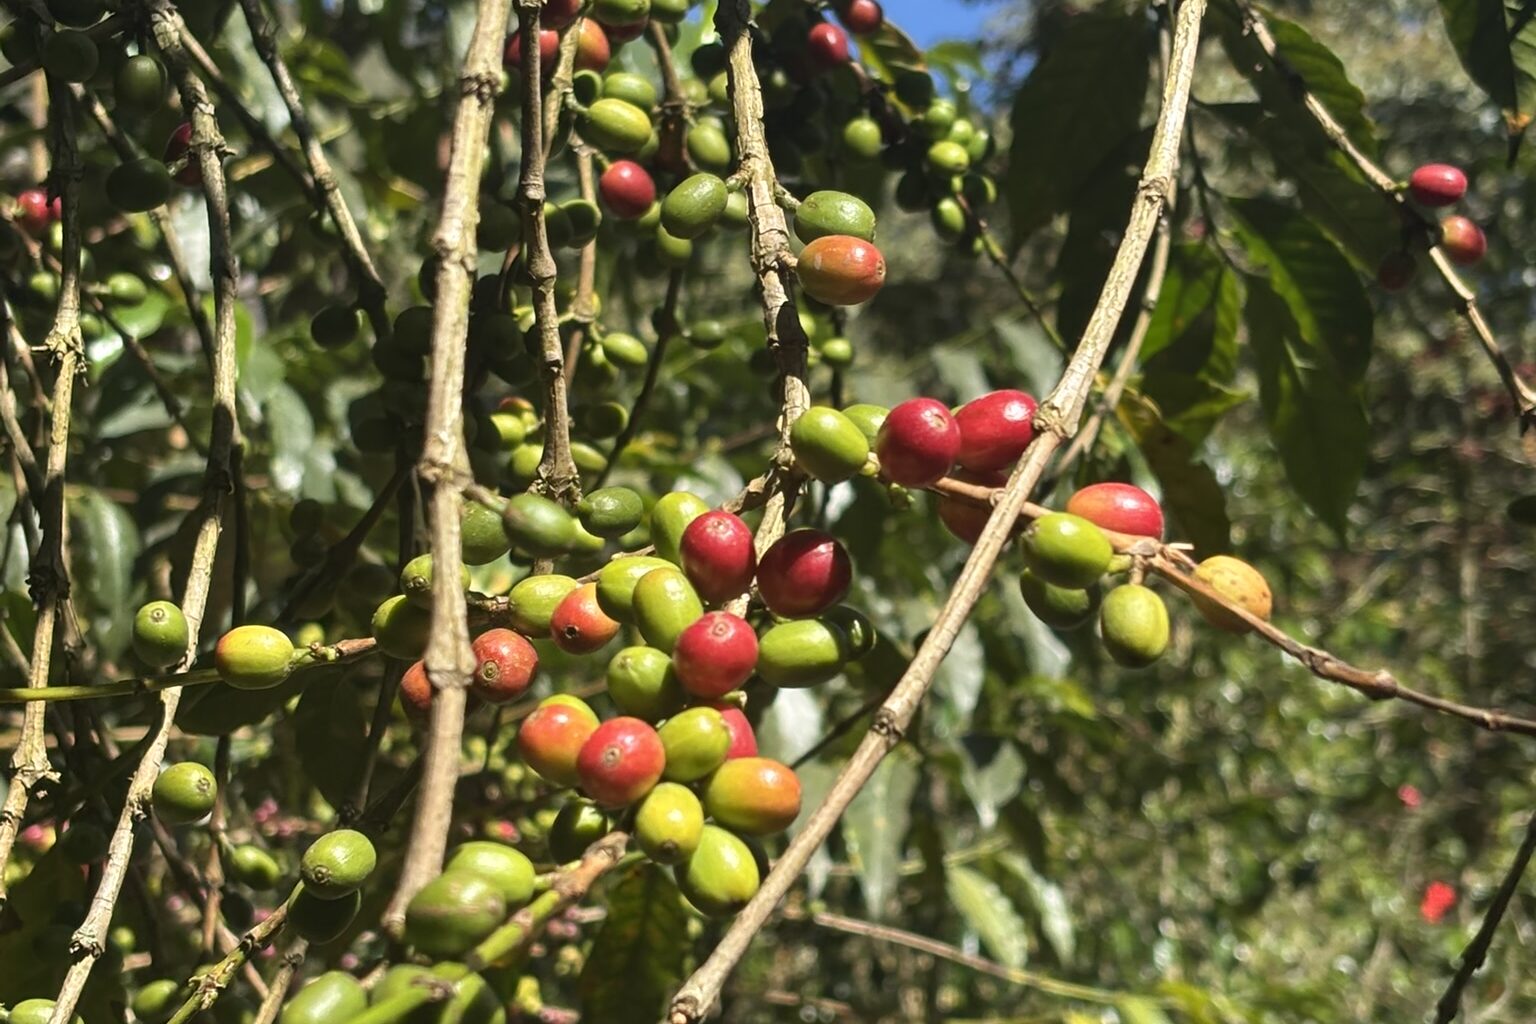
We arrived at Llucmabamba around 12:00 PM. This is a popular place where many hikers stay overnight.
However, for people who want to reduce the distance for the fourth day, there are two additional options:
Option 1
Continue walking another approximately 10 km downhill to Santa Teresa.
Option 2
Climb approximately 5 km uphill to Llactapata.
Both routes continue toward Machu Picchu, but the highlight of Llactapata is the viewpoint where you can see Machu Picchu in the distance. Since we still had enough energy to keep going, we decided to continue on to Llactapata.
By the way, this area is full of coffee plants. Llucmabamba has accommodations with coffee farms, and they are popular among hikers.
The 700 m Climb Was Harder Than Expected
From here, we had to climb approximately 700 meters. However, we had already walked 18 km, so physically, it was extremely demanding. In addition, the weather was clear that day. Because the altitude was lower, the temperature was warmer, and we had to climb under strong sunlight.
A View of Machu Picchu from Llactapata
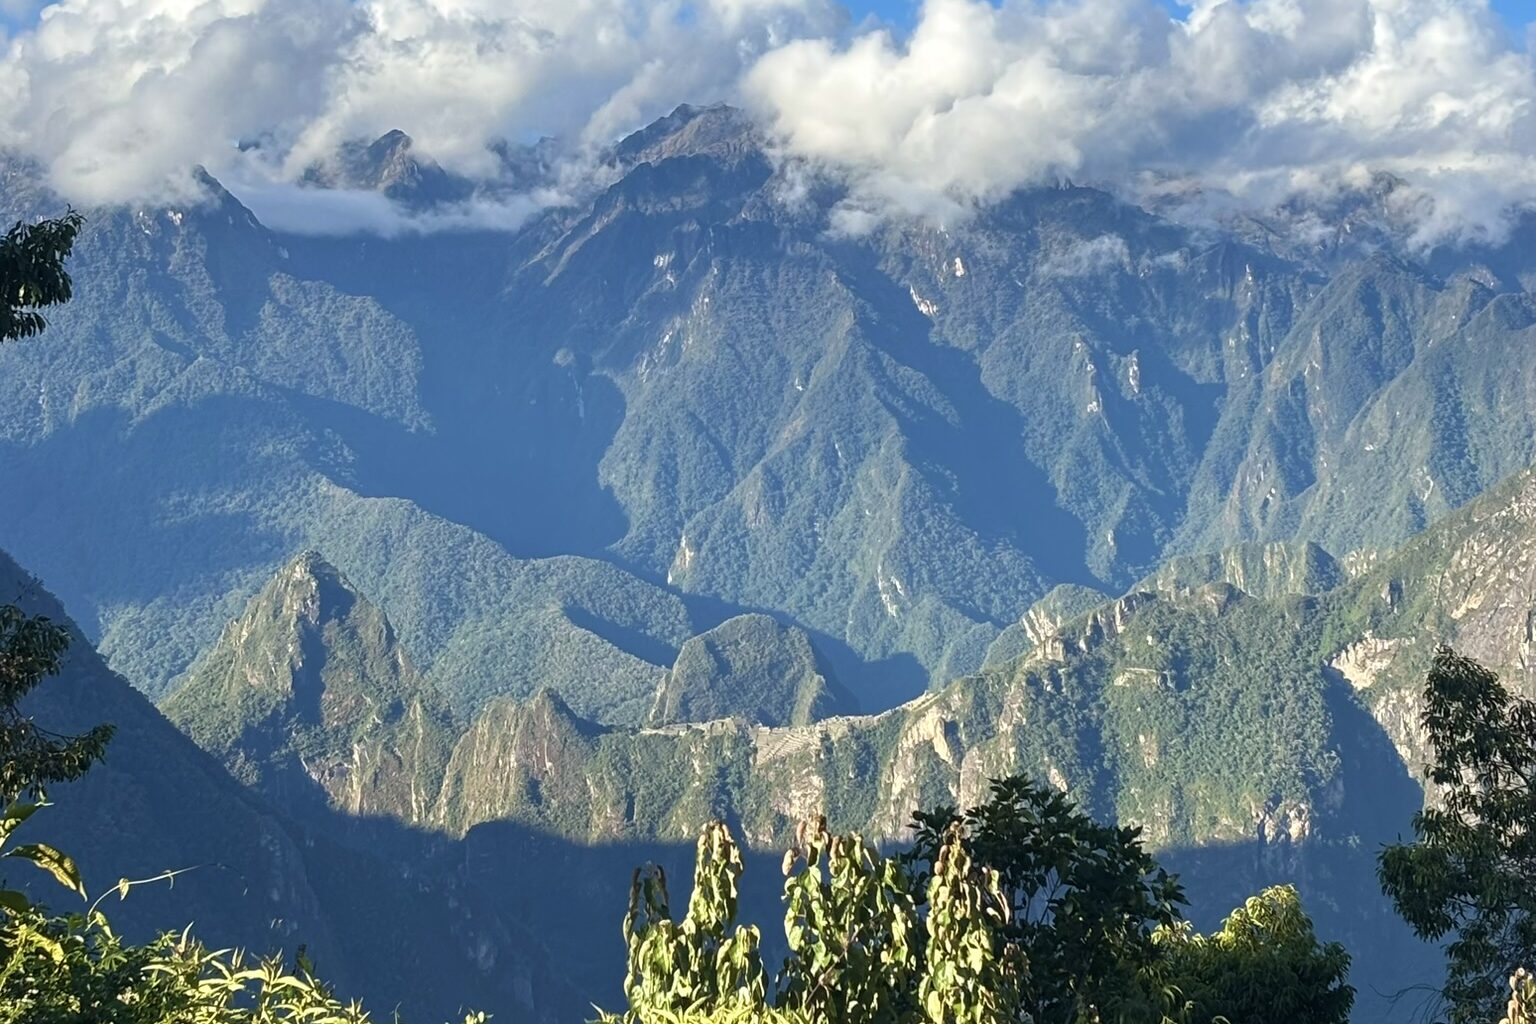
Around 4:00 PM, we finally arrived near Llactapata.
From the viewpoint near the ruins, Machu Picchu appeared in the distance. It was one of the most unforgettable moments of the entire trek. Standing there, I felt a deep sense of accomplishment — “I actually made it this far with my own feet.” It was truly a moving experience.
🛏️Accommodation on Day 3
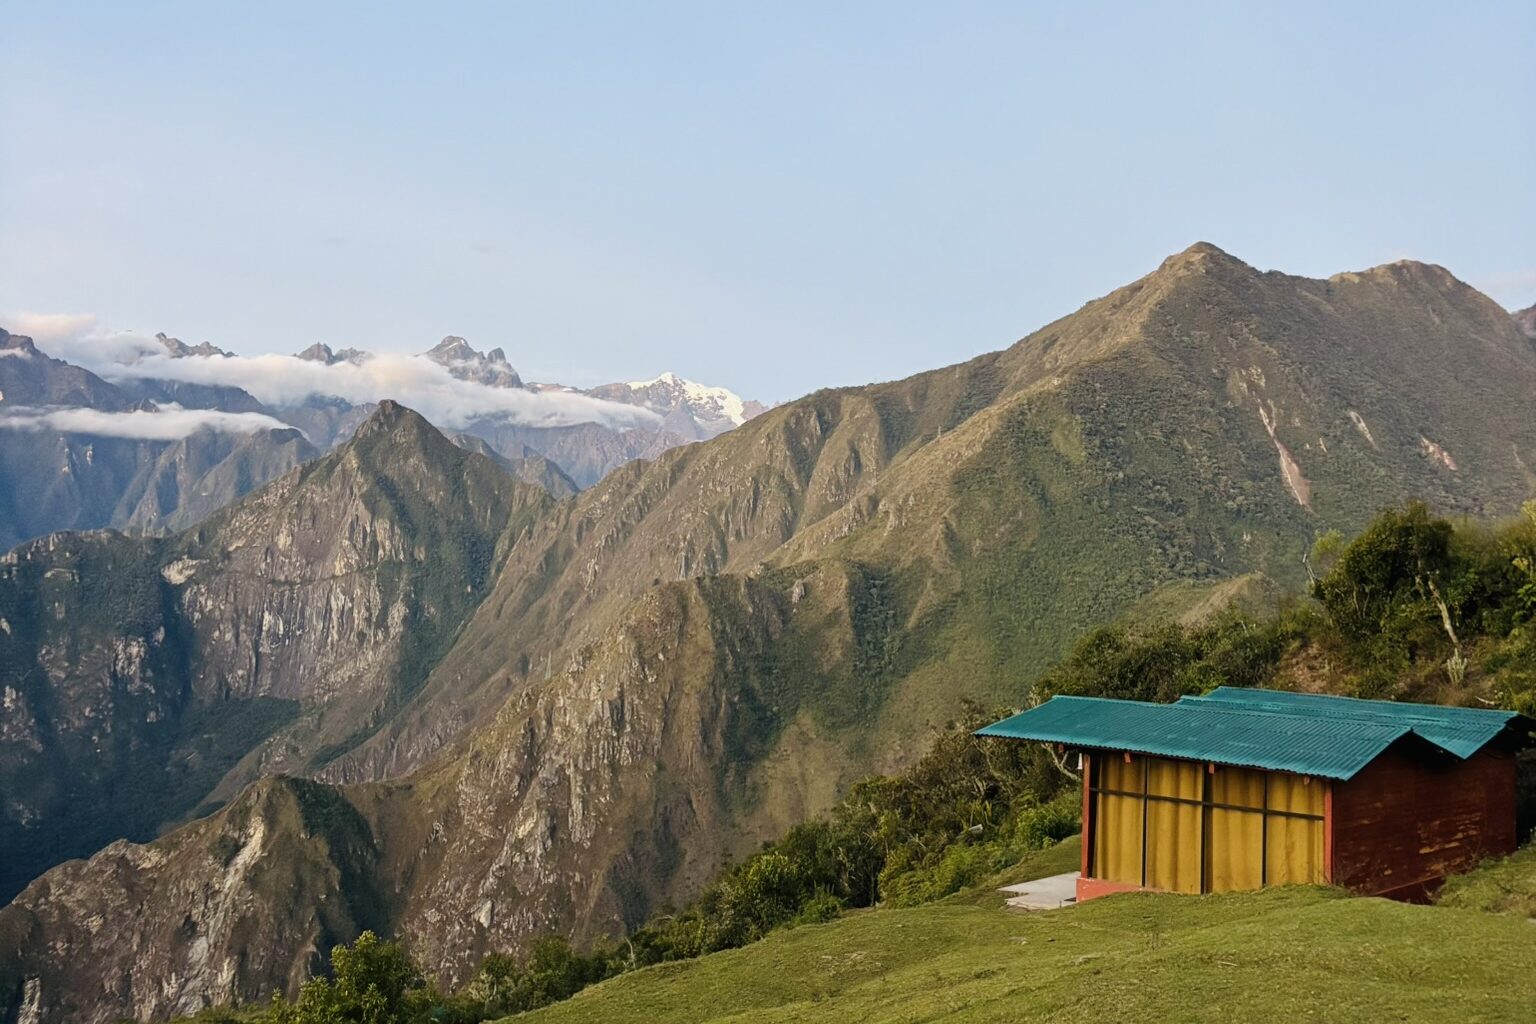
- Price: 100 soles per person
- Breakfast and dinner included
- Private room
- Bathroom included
- Hot shower available
This was the most expensive accommodation of the entire trip. However, considering that it made the following day much easier, it was definitely worth the extra cost.
The biggest highlight of this lodge was the incredible view — you could see Machu Picchu from your room. Staying here during the trek felt like a true luxury.
Day 4: Llactapata → Hidroeléctrica → Aguas Calientes
Distance: Approx. 15 km
Difficulty: ★★★☆☆
The Final Mountain Section
At 6:00 AM, breakfast was served: pancakes, eggs, and juice. Some hikers left before breakfast because they wanted to arrive early in Aguas Calientes and purchase Machu Picchu tickets.
We started walking around 6:30 AM.
Because we had walked a long distance the previous day, this day was only 15 km. However, the first 3 km involved a steep descent of approximately 1,000 meters, which was much harder than expected.
After descending the mountain, we finally arrived at Hidroeléctrica.
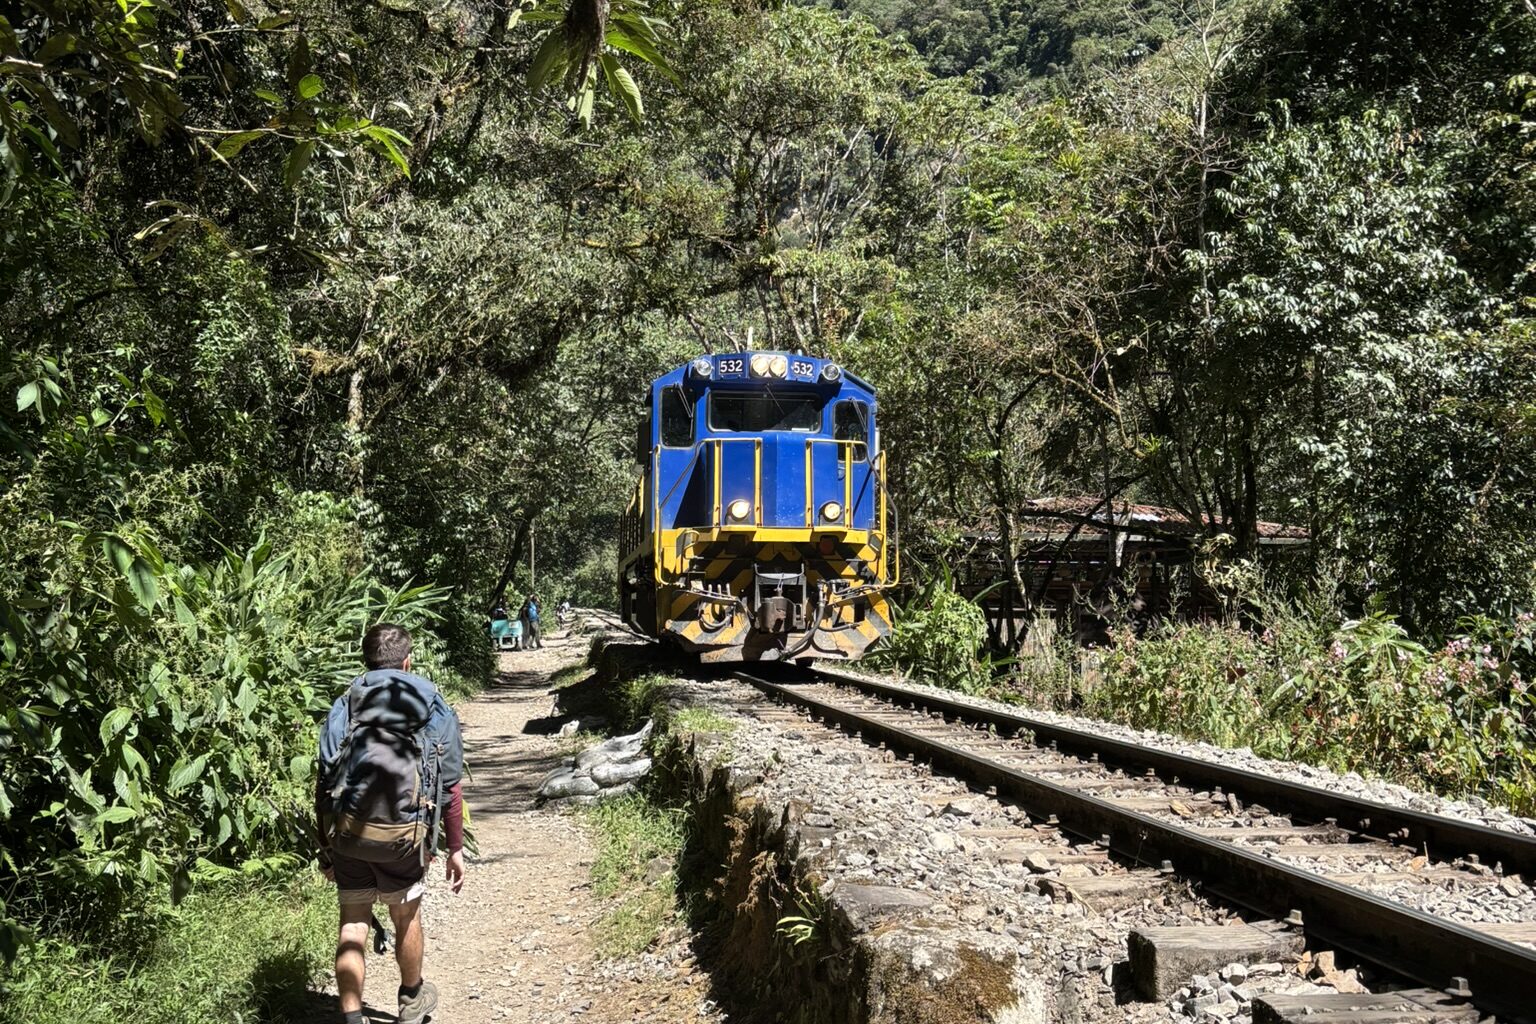
From here, we followed the famous railway track route.
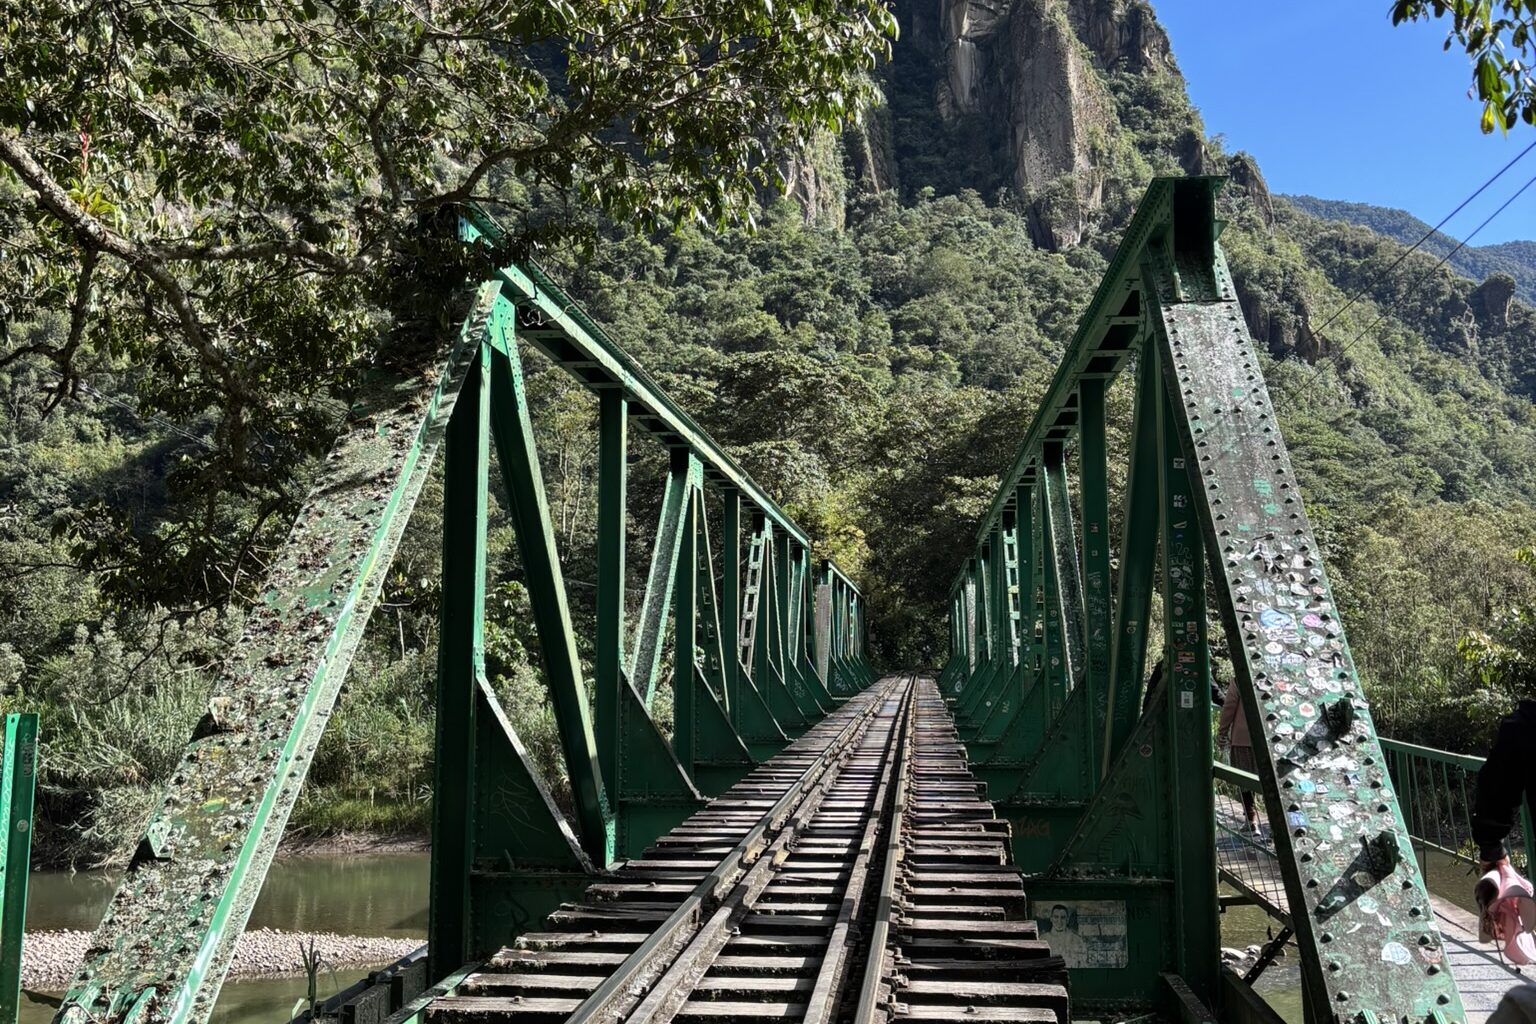
At first, we were excited and thought, “It feels like the movie Stand by Me!”
However, we quickly realized the reality. The path was full of rocks and uncomfortable to walk on.
Trains do not pass very frequently, and they blow their horns when approaching, so we never felt unsafe.
Arrival at Aguas Calientes
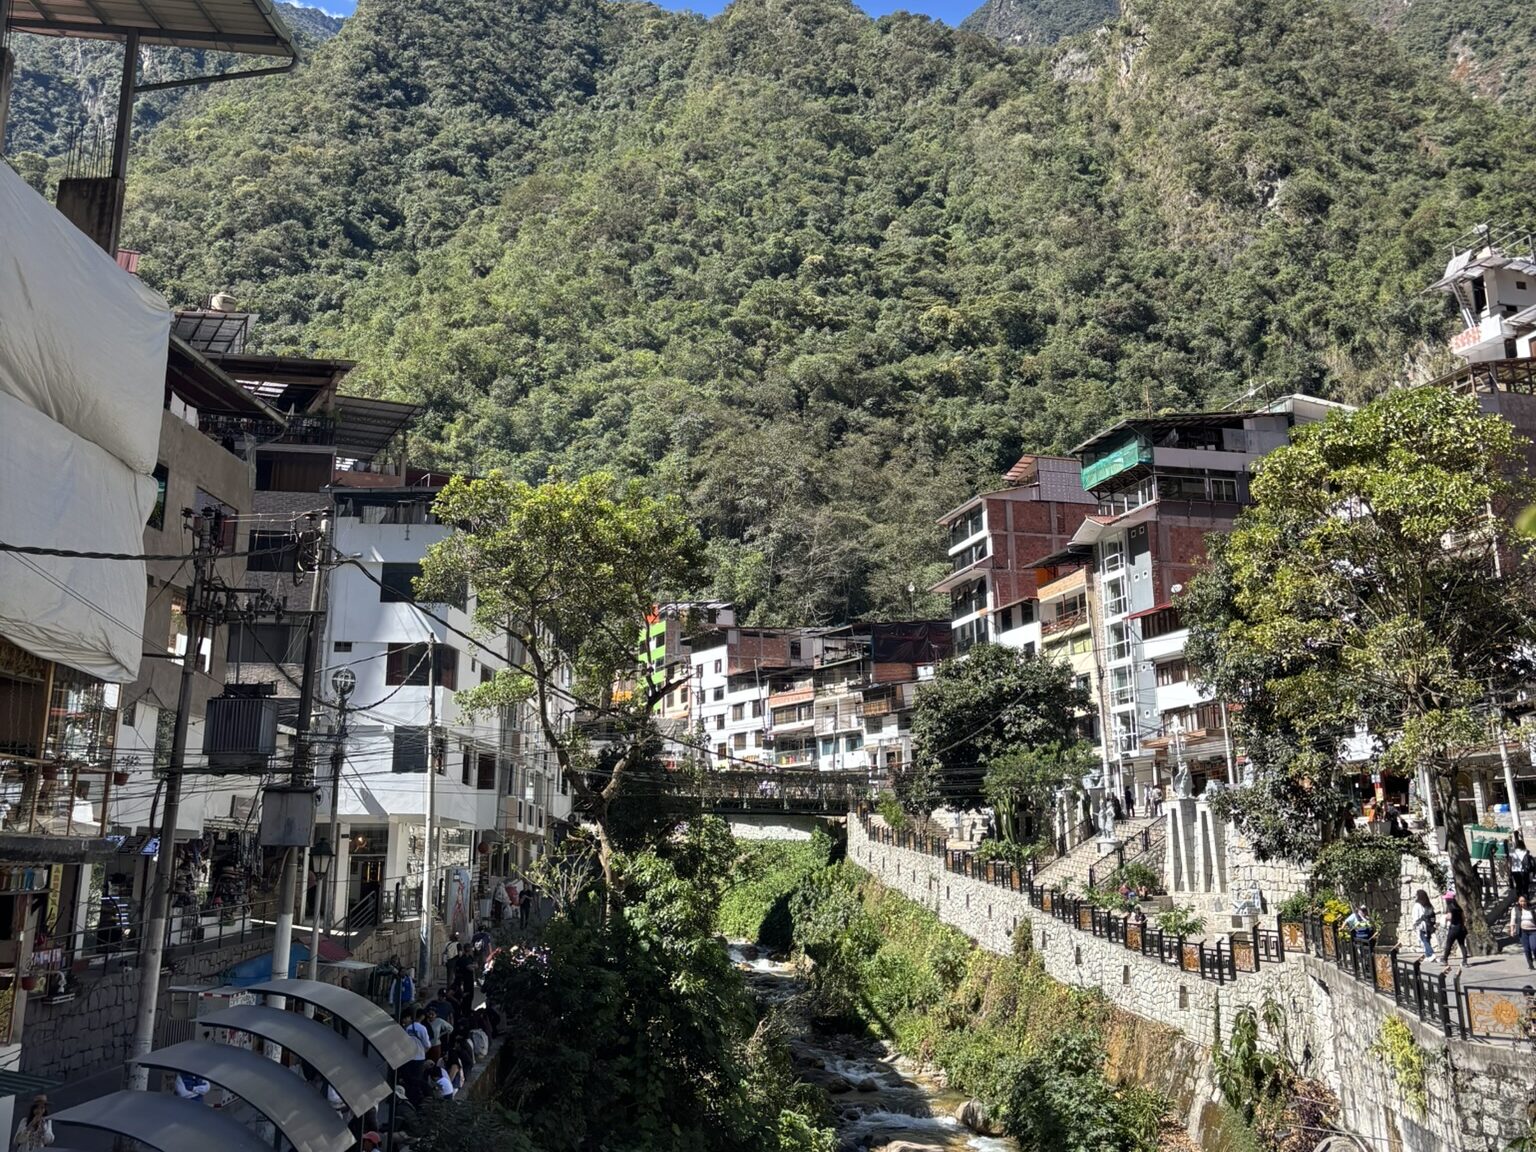
The railway route was approximately 10 km.
We gradually lost the energy to enjoy the scenery, and the walk felt endless. The weather was also clear that day, and the heat made the final section even more exhausting.
Around 12:00 PM, we finally arrived in Aguas Calientes!
Interestingly, Aguas Calientes has a connection to Japan. The town was greatly developed by Yoshiyuki Nouchi, a Japanese man who contributed to its growth. Because of this, the town had a slightly Japanese hot spring town atmosphere.
Buying Machu Picchu Tickets
After arriving, we immediately went to the ticket office.
▼ Machu Picchu ticket office
We were prepared to wait several hours, but surprisingly, there was no line at all. We were able to purchase tickets for the next day immediately.
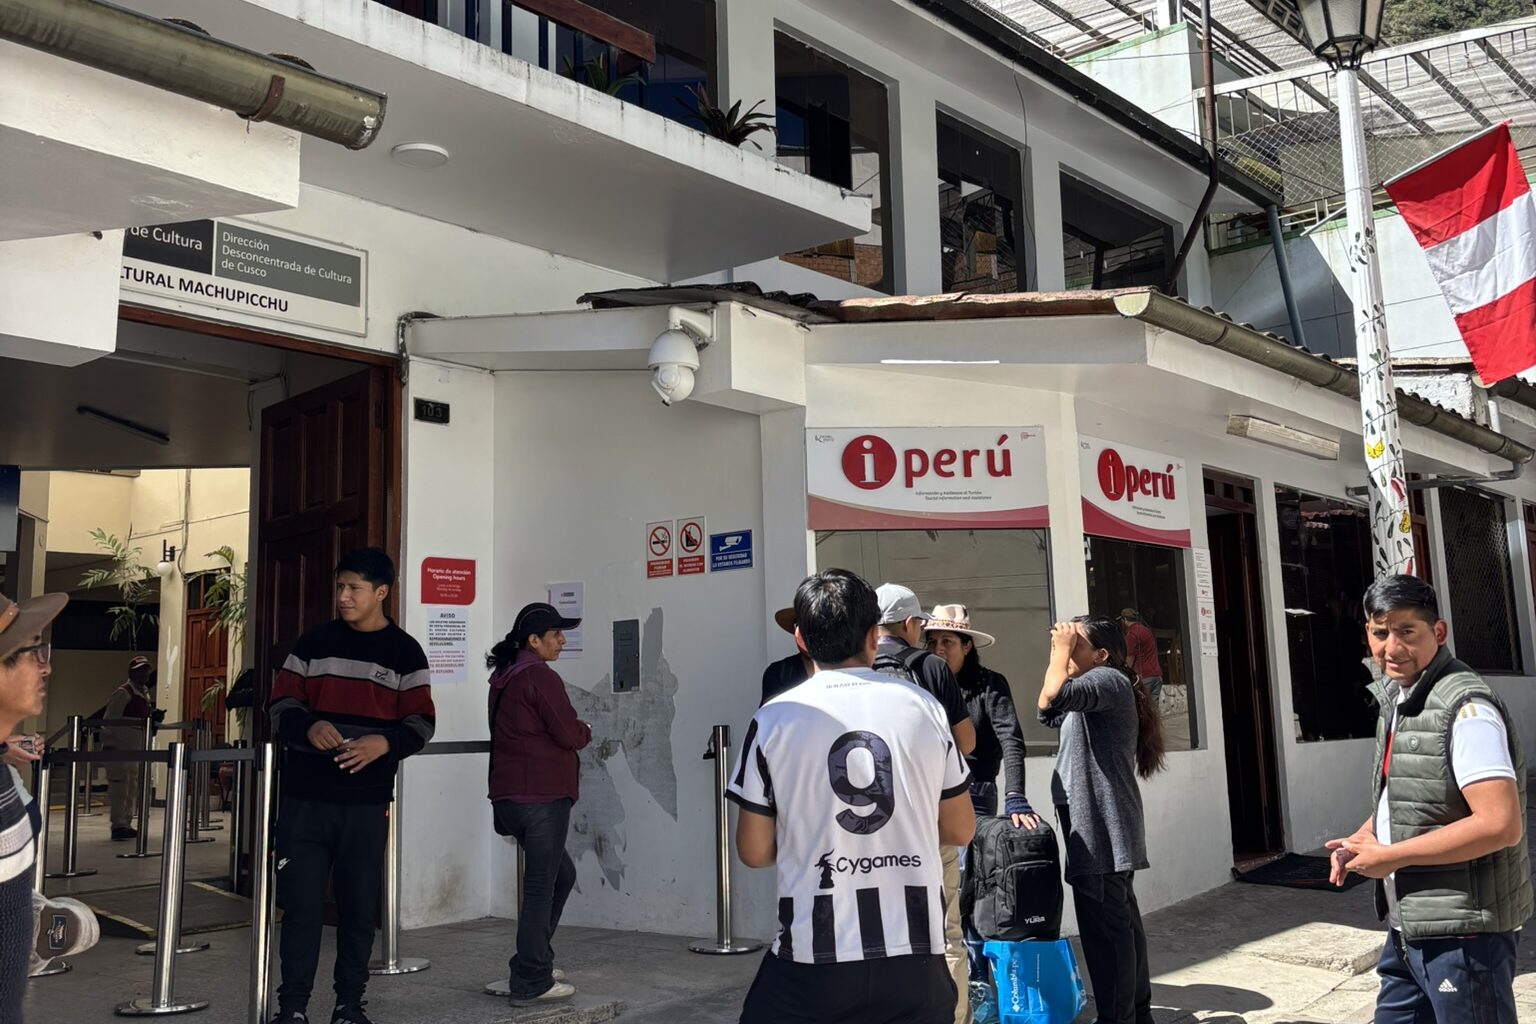
The most popular Circuit 2 was already sold out, so we bought Circuit 1B. The price was 152 soles per person.
Remember that your passport is required both when purchasing tickets and when entering Machu Picchu.
🛏️Accommodation in Aguas Calientes
- Price: 35 USD per room (for 2 people)
- Breakfast included
- New and clean
- Comfortable water pressure and temperature in the shower
After four days of trekking, this hotel was perfect for recovering.
Day 5: Aguas Calientes → Machu Picchu
Distance: Approx. 3 km (if walking)
Difficulty: ★☆☆☆☆
Finally Reaching Machu Picchu
Because our entrance time was at 1:00 PM, we spent a relaxing morning in Aguas Calientes. There are two ways to reach Machu Picchu.
① By Bus
Buses run from Aguas Calientes to the entrance of Machu Picchu. The journey takes around 25 minutes. However, the round-trip ticket costs approximately 24 USD (2026), which is quite expensive.
② Walking
Of course, we chose to walk. First, we walked about 15 minutes from the town, then climbed approximately 1,000 stairs. We reached the entrance in less than an hour.
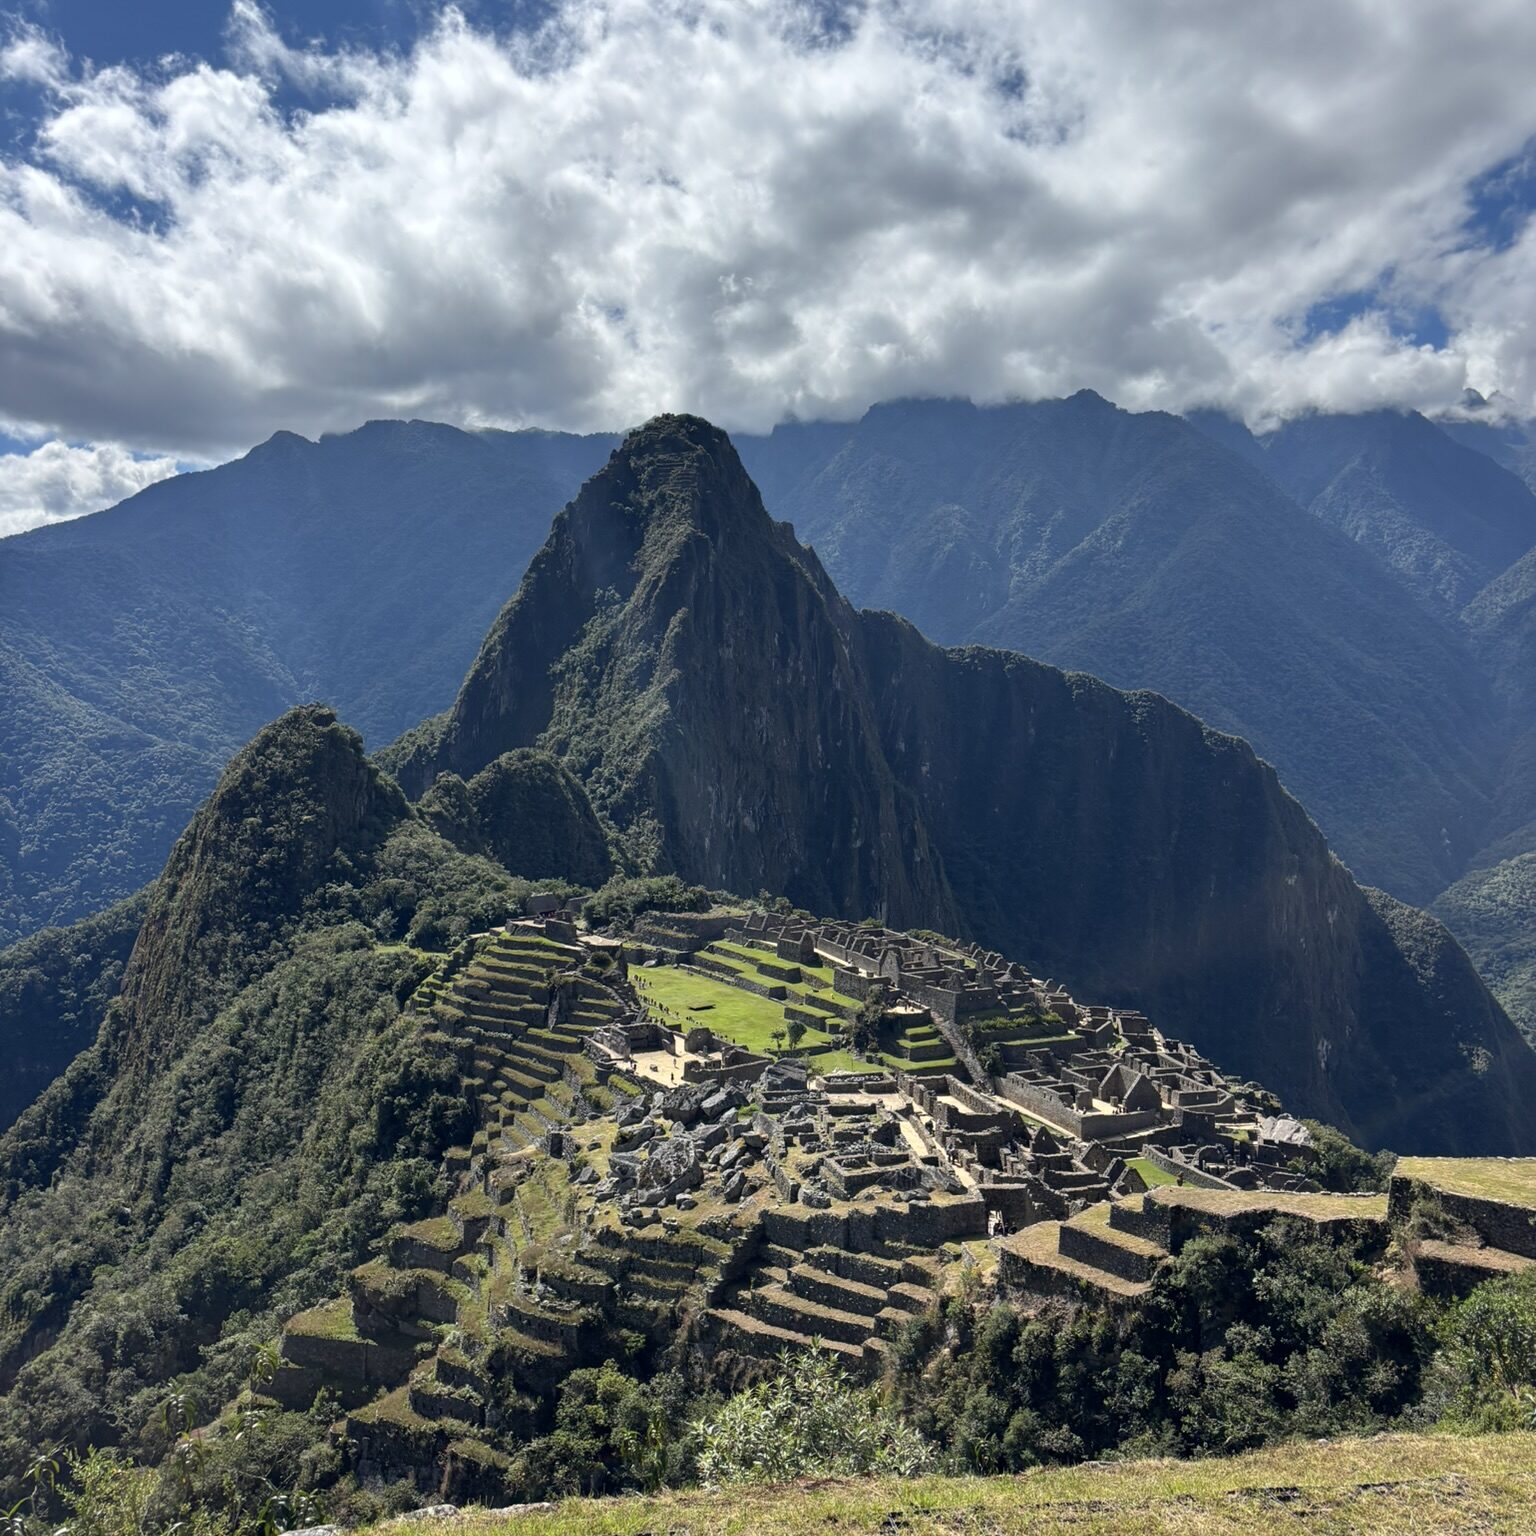
At 1:00 PM, we finally entered Machu Picchu. After climbing the stairs, Machu Picchu suddenly appeared right in front of us.
Luckily, the weather was perfect. Under the clear blue sky, we were able to see Machu Picchu surrounded by majestic mountains. What surprised us the most was how few people there were. Even though it was tourist season and we expected large crowds, there were fewer visitors than we had imagined, allowing us to explore at a relaxed pace.
Unfortunately, with Circuit 1B, we could not explore the inside of the ruins in detail. However, we were able to enjoy the panoramic view of Machu Picchu from above, and we were completely satisfied with the experience.
We stayed for about one hour, then walked back to Aguas Calientes in around 40 minutes.
Day 6: Rest Day
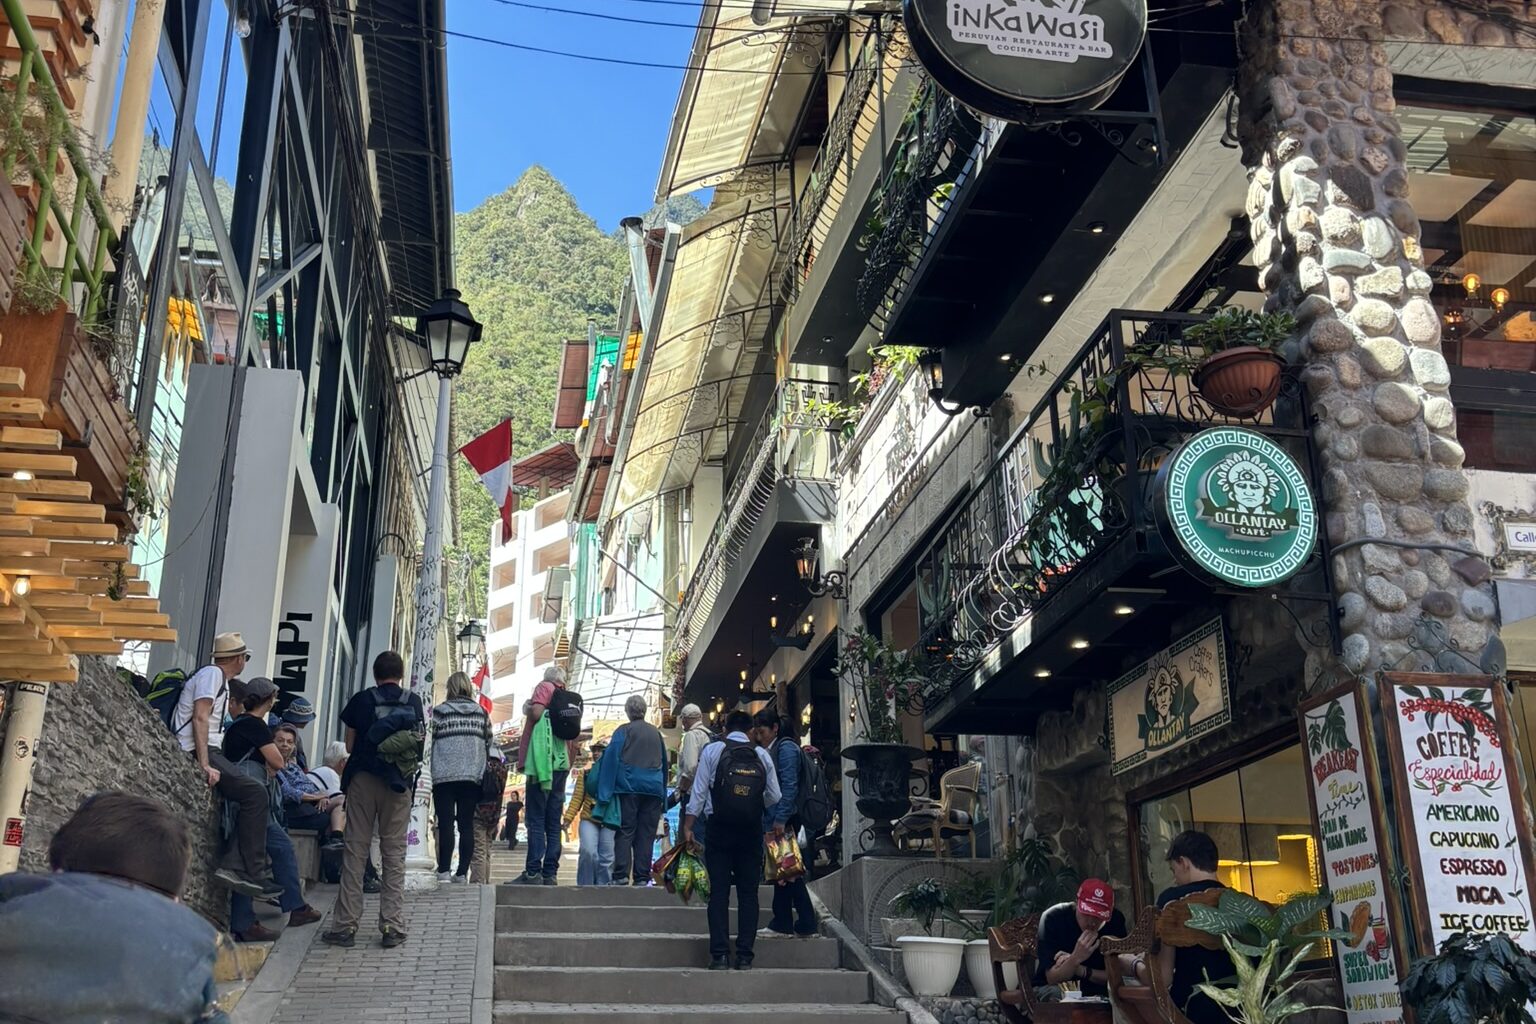
After walking for four consecutive days, we took a complete rest day. We spent the day relaxing in Aguas Calientes to recover from fatigue and heal our foot blisters.
Day 7: Aguas Calientes → Hidroeléctrica → Santa Maria → Cusco
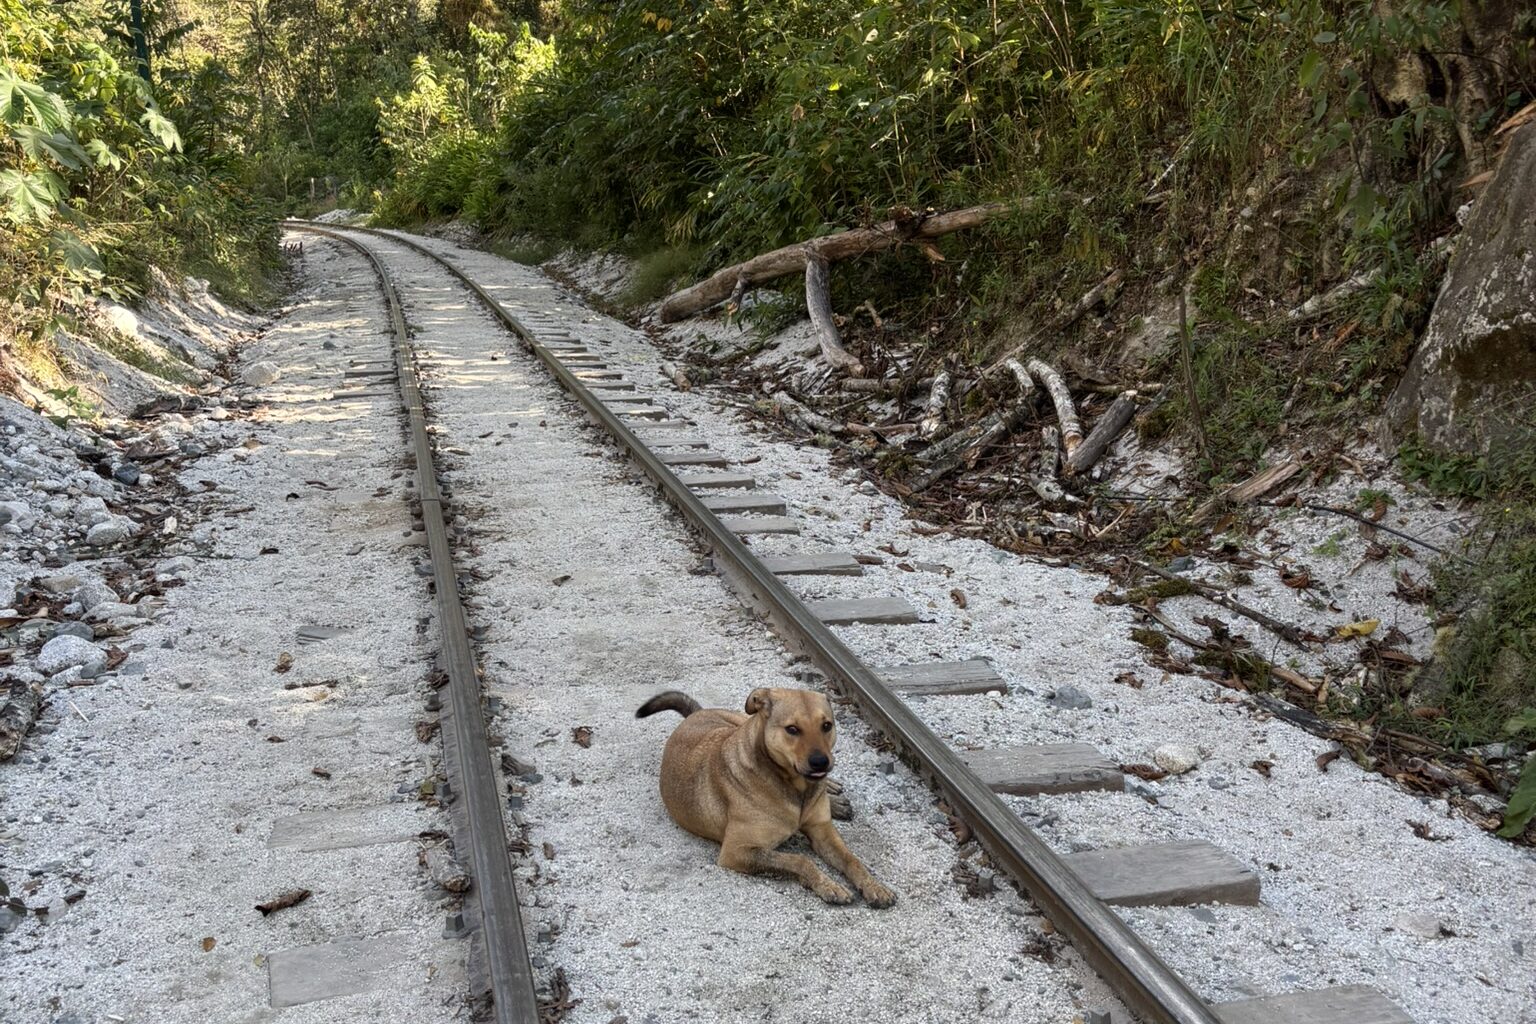
Returning to Cusco
On the way back, we walked along the railway route from Day 4 of the Salkantay Trek again. The distance was approximately 10 km.
There are several ways to return from Hidroeléctrica to Cusco.
Option ① Direct Bus
There are direct buses from Hidroeléctrica to Cusco.
- Departure: 2:00 PM or 3:00 PM
- Price: 50 soles
If the timing works, this is the easiest option.
Option ② Via Santa Maria
Because we arrived at Hidroeléctrica in the morning, we did not wait for the direct bus. Instead, we took a shared van to Santa Maria for 30 soles per person. From there, we shared a taxi with other hikers and returned to Cusco.
The journey from Hidroeléctrica to Cusco took around 5–6 hours. However, this route was extremely difficult due to the mountain road full of hairpin turns, roads along steep cliffs, and very aggressive driving (it genuinely felt dangerous…).
Even though I usually do not get carsick, I felt extremely sick. If you are prone to motion sickness, I recommend preparing medicine beforehand.
💰Total Cost of the Salkantay Trek (Estimated per Person)
Prices may vary depending on season and accommodation.
| Category | Cost (per person) |
|---|---|
| Transportation | Approx. 75–100 soles |
| Accommodation (3 nights) | Approx. 185 soles |
| Food | Approx. 100–150 soles |
| Sightseeing | Approx. 172 soles |
| Total | Approx. 530–605 soles (≈ USD 130–170) |
The costs below do not include the Machu Picchu entrance ticket, accommodation, food, or other expenses in Aguas Calientes. This is the estimated cost for the 4-day Salkantay Trek only (from Cusco to Aguas Calientes).
Final Thoughts | Completing the Salkantay Trek
The Salkantay Trek was by no means an easy journey.
However, crossing snowy mountains, descending from the high Andes into jungle-like valleys, and finally reaching Machu Picchu with our own feet created a special feeling that is completely different from simply visiting as a tourist.
I believe the true charm of the Salkantay Trek is not only Machu Picchu itself, but also the entire journey leading there.
Of course, visiting Machu Picchu by train or bus is also a wonderful experience. But if you have enough time and physical strength, I highly recommend experiencing “walking your way to Machu Picchu.” Not only Machu Picchu itself, but all four days spent getting there will become unforgettable memories.